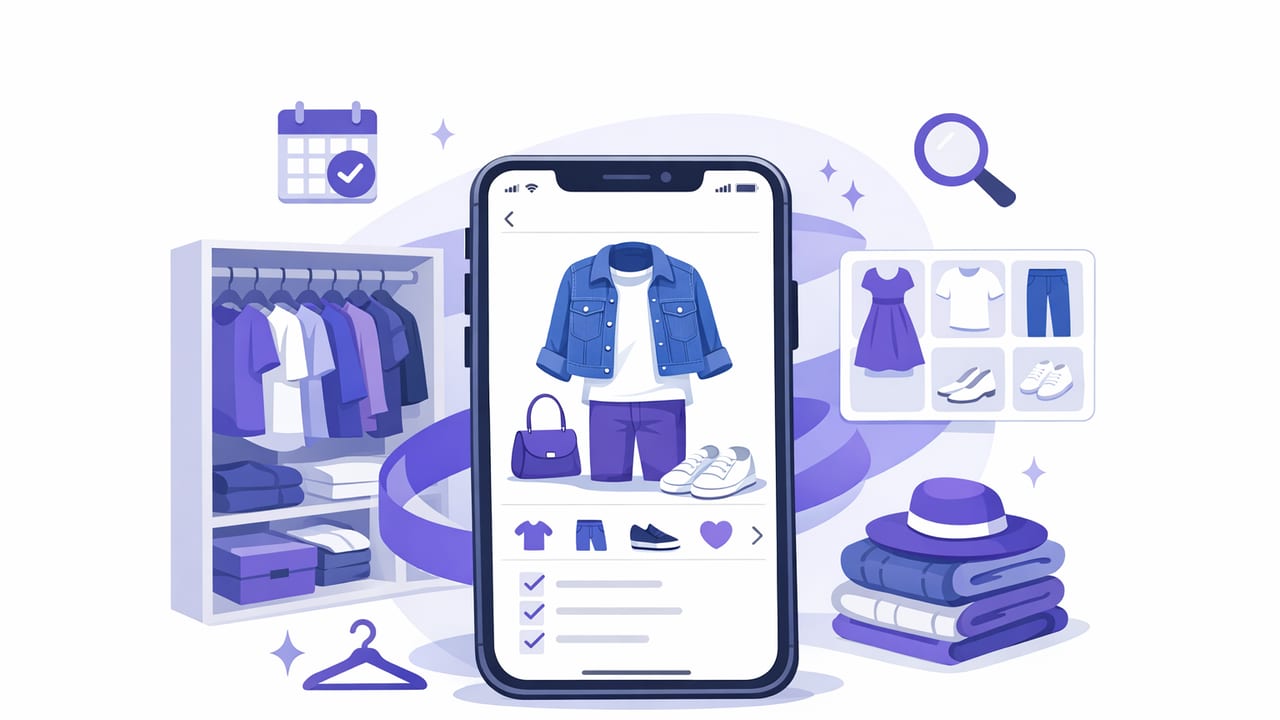
A wardrobe organizer iOS setup can be much more than a photo album of clothes. Done well, it becomes a decision system: you quickly see what you own, what works together, what’s missing, and what you should stop buying. The key is building a repeatable workflow—a lightweight closet audit, a tagging method you’ll actually use, and a simple outfit-planning routine you can maintain week after week.
This guide walks through a proven approach to creating a digital wardrobe (and keeping it accurate), with practical examples you can copy immediately.
Why a wardrobe organizer on iOS works (when it’s set up right)
Many people try a wardrobe app once, upload a few items, and quit because it feels like extra work. The difference between “I tried it” and “I rely on it daily” usually comes down to three things:
- Low friction capture: adding items is fast (and consistent).
- Useful tags: you can filter by real-life needs (weather, dress code, comfort).
- A weekly rhythm: small maintenance beats big overhauls.
When those are in place, an iOS wardrobe organizer becomes a tool for:
- Reducing “nothing to wear” moments by surfacing forgotten combinations.
- Planning outfits for work, events, travel, and weather shifts.
- Seeing cost-per-wear patterns and eliminating impulse repeats (buying the same thing again).
- Building outfits faster using saved formulas (e.g., “smart casual dinner”).
Step 1: Do a 30-minute closet audit (before you photograph everything)
Before you catalog, do a quick audit so you don’t waste time digitizing items you won’t wear.
The “keep, fix, release” triage
- Keep: fits now, feels good, and you’d wear it in the next 30 days.
- Fix: needs tailoring, stain removal, button replacement, or ironing.
- Release: doesn’t fit, doesn’t match your life, or you avoid it.
Put “Fix” items into a single bag or bin. If you don’t fix them within two weeks, move them to “Release.” This keeps your digital wardrobe focused on what you can actually wear.
Rule of accuracy: Your digital wardrobe should reflect your wearable closet, not your aspirational closet.
Step 2: Capture items efficiently (photos that are good enough)
Your wardrobe organizer iOS workflow should prioritize speed over perfection. You’re building a tool, not a catalog shoot.
A fast photo checklist
- Lighting: stand near a window; avoid harsh overhead shadows.
- Background: plain wall, door, or a clean bedspread.
- Angle: straight-on; keep the entire item in frame.
- Consistency: use the same spot and distance whenever possible.
Pro tip: Photograph in batches by category (all tops, then all bottoms). Batching reduces context-switching and helps you add consistent tags.
Step 3: Build a tag system that matches real decisions
Tags are where a wardrobe organizer iOS setup becomes genuinely useful. The best tags mirror the questions you ask in the morning:
- Is it appropriate for where I’m going?
- Does it work with today’s weather?
- Do I want comfort or structure?
- What shoes/jacket pair with this?
Use three tag layers (and don’t overdo it)
A practical system uses three layers:
- Basics: category, color, material.
- Context: occasion/dress code, season, weather.
- Behavior: comfort level, itchiness, wrinkle-prone, “needs special bra,” etc.
Sample tagging template (copy this)
| Tag Group | Examples | Why it matters |
|---|---|---|
| Occasion | Work, Casual, Date, Formal, Gym, Travel | Filters quickly for the event you’re dressing for |
| Weather | Hot, Mild, Cold, Rain-friendly, Windy | Prevents “wrong outfit for the day” mistakes |
| Comfort | All-day, Sitting-friendly, Restrictive, Soft | Matches how you’ll actually spend your day |
| Styling Role | Statement, Basic, Layering, Workhorse | Helps you build outfits around anchors |
| Care | Wrinkles, Dry clean, Hand wash, Lint magnet | Supports realistic outfit planning |
A simple tag schema (optional, if you like structure)
If you want consistency, define a small set of allowed values. Here’s a compact schema you can adapt:
{
  "category": ["top", "bottom", "dress", "outerwear", "shoe", "accessory"],
  "occasion": ["work", "casual", "formal", "travel", "sport"],
  "season": ["warm", "cool", "all"],
  "weather": ["hot", "mild", "cold", "rain"],
  "comfort": ["all_day", "structured", "restrictive"],
  "care": ["easy", "wrinkle_prone", "dry_clean"],
  "color_family": ["black", "white", "neutral", "bright", "pastel"]
}
Keep it small. A tag system that’s too detailed becomes a chore, and chores don’t get maintained.
Step 4: Create outfit formulas (so planning takes minutes)
Outfit formulas reduce decision fatigue. Instead of inventing a new look daily, you reuse proven “recipes” and swap in different items.
Five formulas that cover most wardrobes
- Polished work: structured top + tailored bottom + clean shoe + simple layer
- Casual upgrade: basic top + better jacket + intentional shoe
- Warm weather: breathable base + light layer option + walkable shoe
- Cold weather: base + mid-layer + insulated outerwear + weather-ready shoe
- Evening: one statement piece + two quiet basics + coordinated accessories
In your iOS wardrobe organizer, save 10–15 outfits that match your actual week. These become your “default library” you can pull from when you’re busy.
Step 5: Use virtual try-on and comparisons to avoid dead-end outfits
One of the biggest advantages of a digital wardrobe is the ability to test combinations without changing clothes repeatedly. If your app supports virtual try-on or side-by-side comparisons, use it for:
- Silhouette checks: wide + wide vs. fitted + wide balance.
- Color harmony: checking whether tones clash or read intentional.
- Layering logic: ensuring proportions work with jackets and coats.
- Shoe reality: confirming the shoe choice doesn’t “break” the outfit.
Practical workflow: make three versions of the same outfit (shoe swap, layer swap, accessory swap), then save the winner. Over time, you’ll build a personal style map of what consistently works.
Step 6: Add a weekly routine (the part that makes it stick)
The best wardrobe organizer iOS setups are maintained with tiny habits, not big projects.
10-minute weekly reset
- Archive anything you didn’t wear and don’t plan to wear soon (seasonal or “maybe later”).
- Add new purchases immediately (photo + 5 core tags).
- Log wears if your app supports it (even approximate data helps).
- Plan 3–5 outfits for your highest-friction days (early meetings, travel, events).
Monthly wardrobe reality check
- Identify three most-worn items and why they work (fit, fabric, versatility).
- Identify three least-worn items and the barrier (fit, comfort, styling difficulty).
- Choose one “gap” to fix (e.g., a layer, a shoe, a bottom that matches most tops).
This is also where a smart closet organizer mindset helps: you’re optimizing a system, not chasing endless novelty.
Common mistakes that make people abandon wardrobe apps
- Cataloging everything at once: start with your top 30–50 items and expand gradually.
- Over-tagging: if you can’t remember which tags you used, you used too many.
- Ignoring comfort/care tags: “looks good” isn’t enough if it itches or wrinkles instantly.
- Not saving outfits: items alone don’t reduce decision fatigue—saved combos do.
- Letting the closet drift: if you donate or buy items but don’t update the app, trust disappears.
Privacy and photo tips for a digital wardrobe
Because a wardrobe organizer iOS library can include personal photos, it’s worth setting boundaries:
- Use clothing-only photos when possible (flat lay or hanger shots).
- Remove location metadata if you’re exporting or sharing images.
- Create sharing rules: share outfits, not full closet inventories, unless you intend to.
- Back up thoughtfully: decide whether you want wardrobe data in cloud storage or only on-device.
Quick-start checklist (do this today)
- Pick 30 minutes to triage: Keep / Fix / Release.
- Photograph your 20 most-worn items first.
- Add only these tags: category, occasion, season, comfort, color family.
- Save 5 outfits you can wear this week.
- Schedule a 10-minute weekly reset on your calendar.
Final thought: aim for “useful,” not “complete”
A wardrobe organizer iOS setup doesn’t need to be perfect to be powerful. Start with what you wear, tag for real life, and build a small library of outfits you trust. Once you feel the speed and clarity it brings, expanding your digital wardrobe becomes effortless.
If you’re looking for an iOS option that combines a digital wardrobe with virtual try-on and AI-assisted outfit building, you can explore Outfit Maker as one example.
