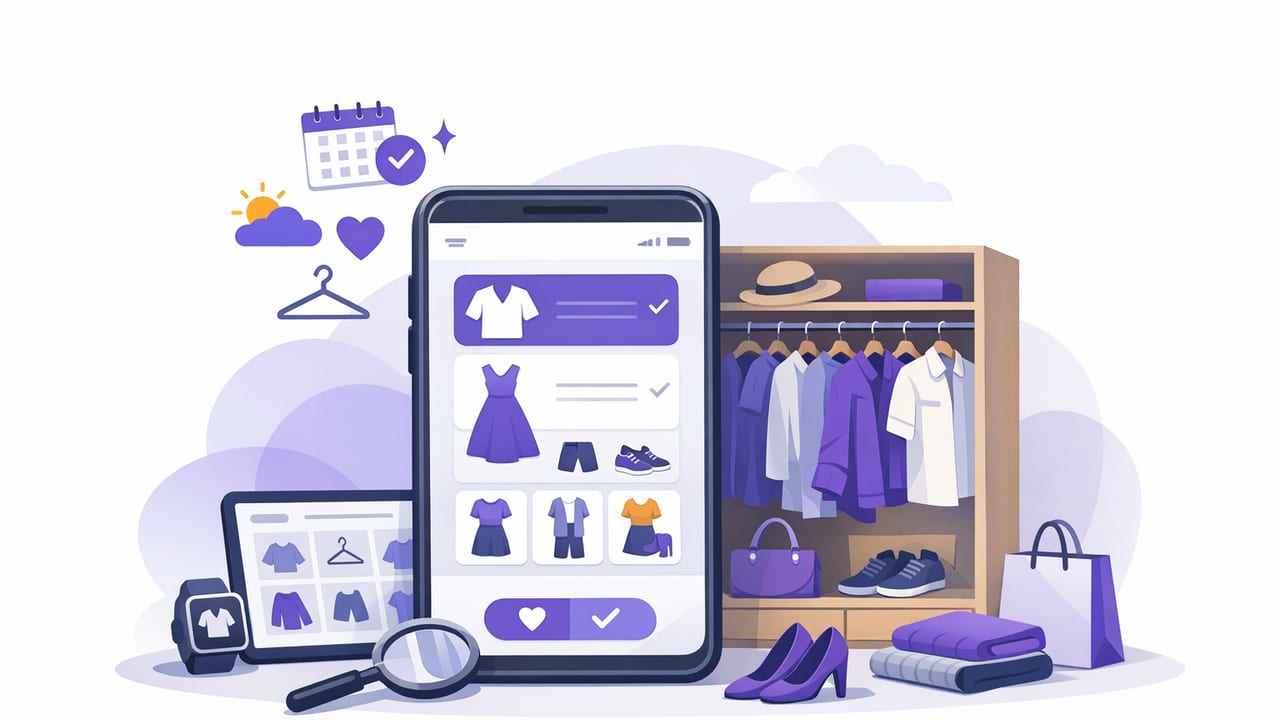
A wardrobe app can be the difference between “I have nothing to wear” and a closet that reliably produces outfits you like. But most people don’t fail because the app is bad—they fail because their system is incomplete: inconsistent photos, missing tags, no routine, and no clear goal (work outfits? travel packing? reducing repeats?).
This guide shows how to set up a digital wardrobe that stays accurate, helps you plan outfits quickly, and supports virtual try-on and AI outfit suggestions—without turning your closet into a second job.
What a wardrobe app should do (in plain terms)
At minimum, a wardrobe app should help you:
- Catalog your clothing with photos and details
- Search and filter by what you actually need (occasion, season, color, dress code)
- Plan outfits (and save combos that work)
- Track usage so you know what you wear vs. what you store
More advanced wardrobe apps add virtual try-on, AI outfit generator features, weather-based suggestions, packing lists, and sharing for feedback.
Rule of thumb: The best wardrobe app is the one you can maintain in under 5 minutes a day.
How to choose the right wardrobe app: a practical checklist
If you’re comparing apps, evaluate them on these criteria. You don’t need every feature—but you do need the ones that match your lifestyle.
| Feature | Why it matters | Who benefits most |
|---|---|---|
| Fast item capture (camera + crop) | Reduces setup friction; you’ll actually finish cataloging | Anyone starting from scratch |
| Smart tags (occasion, season, dress code) | Makes outfit planning searchable instead of guesswork | Office, events, busy schedules |
| Outfit builder + saved looks | Turns one good outfit into a repeatable template | People who want fewer decisions |
| AI outfit suggestions | Helps you see new combinations from what you own | Style exploration, capsule wardrobes |
| Virtual try-on | Preview combinations before changing clothes | Anyone who experiments or hates outfit churn |
| Wear count / cost-per-wear | Highlights neglected items and shopping gaps | Budgeting, mindful shopping |
| Cloud sync + export | Protects your closet data; easy migration | Long-term users |
Step-by-step setup: build a digital wardrobe in a weekend (without burnout)
A full closet upload sounds intimidating. The trick is to start with the items that create the most outfit choices, then expand.
Step 1: Define your “outfit goal”
Pick one primary goal for the next 30 days:
- Workweek planning: 10 reliable outfits on rotation
- Occasion readiness: brunch/date/interview templates
- Season swap: make fall/winter (or summer) dressing effortless
- Shopping freeze: wear what you own for a month and find gaps
This goal determines what you upload first and how you tag it.
Step 2: Capture the “core 30” before everything else
Instead of photographing your entire closet, start with ~30 items:
- 5 tops that go with everything
- 3 bottoms (jeans, trousers, skirt)
- 2 layering pieces (blazer, cardigan)
- 2 dresses or one-piece outfits (optional)
- 3 shoes (casual, work, going out)
- 3 bags/accessories you actually use
- Weather essentials (coat, boots, etc.)
With just these, most people can generate dozens of outfits—especially if the wardrobe app supports an outfit builder or AI outfit generator.
Step 3: Use consistent photos (so the app stays useful)
Your catalog is only as good as your images. Aim for:
- One lighting style (near a window or consistent indoor light)
- Simple background (door, blank wall, or flat lay)
- Full item in frame (no cut-off hems or sleeves)
- One angle (front view is usually enough)
If you’re using virtual try-on, clearer photos generally produce more realistic results.
Step 4: Tag items like a stylist (not like a database)
Over-tagging is the fastest way to abandon a wardrobe app. Use 4–6 tags per item max, focusing on the tags you’ll search later.
Recommended tag categories:
- Occasion: work, weekend, gym, formal
- Season: summer, winter, transitional
- Warmth level: light, medium, heavy
- Style vibe: classic, minimal, street, romantic
- Fit notes: oversized, fitted, cropped
- Care limits: dry clean, delicate, stain-prone
If your app supports custom fields, here’s a simple tagging schema you can copy into notes for consistency:
{
  "item": "Black blazer",
  "category": "outerwear",
  "tags": ["work", "transitional", "classic", "medium-warmth", "fitted"],
  "pairs_well_with": ["white tee", "wide-leg trousers", "ankle boots"],
  "avoid_with": ["bulky hoodie"],
  "notes": "Great for presentations; wrinkles if overpacked"
}
Step 5: Build 10 “default outfits” and save them
This is where a wardrobe app becomes a daily tool. Create and save:
- 3 work-safe outfits
- 3 casual outfits
- 2 elevated/going-out outfits
- 2 weather-specific outfits (rain/heat/cold)
These are your baseline. Later, AI outfit suggestions can remix them, and virtual try-on can help you test small changes (shoe swap, jacket change, different top) without a full outfit reset.
A low-effort routine to keep your digital closet accurate
Most digital wardrobes fail due to drift: you buy new items and forget to add them, you donate pieces and forget to remove them, or you stop tracking what you actually wear.
Daily (under 2 minutes)
- Save what you wore (or mark it as worn)
- Note one quick insight: “too tight after lunch,” “needs a lint roll,” “great for cold offices”
Weekly (10 minutes)
- Add 3–5 items you wore but haven’t cataloged yet
- Create 2 new outfits using one “ignored” item
- Review upcoming events and pre-plan outfits
Monthly (20–30 minutes)
- Archive/donate items you haven’t worn and don’t love
- Check your “gap list” (what you keep wishing you had)
- Update seasonal tags (transitional → winter, etc.)
Common mistakes (and how to fix them fast)
1) You catalog everything but still can’t make outfits
Usually this is a tagging problem. If you can’t filter by occasion, warmth, and dress code, the app becomes a photo album. Fix: retag only your top 30–50 most-worn items with practical tags.
2) Your outfit plans look good in-app but fail in real life
Add “real-life constraints” tags: bra-friendly, walkable shoes, bike commute, AC office, stain-prone. These small notes prevent the classic 8:05 AM outfit panic.
3) You stop using the wardrobe app after two weeks
Reduce maintenance. Switch to a “core closet” strategy: keep only your most-used items active, archive the rest, and slowly expand. Consistency beats completeness.
Privacy and photo tips for virtual wardrobes
Because a wardrobe app may store images of your clothing—and sometimes photos of you for virtual try-on—treat privacy as a feature, not an afterthought:
- Prefer apps with clear controls for cloud sync and deletion
- Use item-only photos if you’re not comfortable uploading personal images
- Avoid capturing identifiable backgrounds (mail, family photos) when shooting items
Mini FAQ: wardrobe apps, answered
Is a wardrobe app worth it if I already know what I like?
Yes—because it reduces decision fatigue. Even with a clear style, having saved outfits, quick filters, and wear tracking makes daily dressing faster and more consistent.
How many items should I catalog?
Start with 30–50 items. Add more only when the app is helping you regularly. A smaller, accurate digital wardrobe beats a huge outdated one.
Do AI outfit generator features replace personal style?
No. They’re best as a remix tool: suggesting combinations you wouldn’t think of, highlighting underworn pieces, and helping you test variations quickly—especially when paired with virtual try-on.
Putting it all together
A wardrobe app works when it becomes a feedback loop: you catalog what you own, plan outfits for real situations, track what you actually wear, and adjust your closet based on data (not guilt). Keep your photos consistent, your tags practical, and your routine light—then let the app do what it’s good at: making outfit decisions easier.
If you’re exploring iOS options that combine a digital wardrobe with virtual try-on and AI outfit generation, Outfit Maker is one example—just remember that your results will come from the setup and habits you build, not the download alone.
