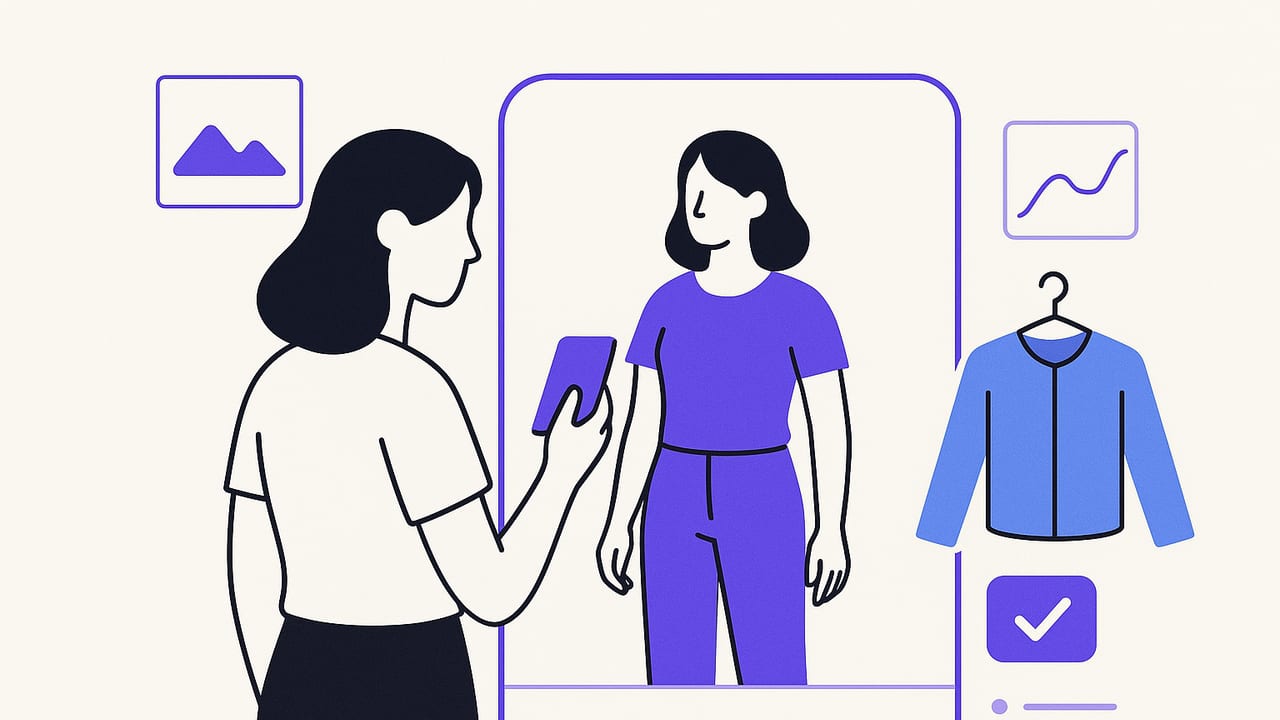
Virtual try-on has matured from a novelty camera filter into a practical way to preview outfits, test sizes, and plan looks without changing clothes. Whether you want to evaluate fit, build outfits from your wardrobe, or reduce returns when shopping online, understanding how virtual try-on works—and how to feed it good inputs—pays off. This guide explains the core technologies, practical accuracy tips, setup best practices, styling tactics, and a quick-start checklist you can follow today.
How Virtual Try-On Works (Without the Jargon)
Most modern virtual try-on (often shortened to VTO) systems combine computer vision, body estimation, and garment rendering. Three common approaches dominate the landscape, each with strengths and trade-offs.
| Approach | How It Works | Strengths | Limitations | Best For |
|---|---|---|---|---|
| 2D Overlay | Segments your photo and layers garment images to align with your pose. | Fast; minimal setup; works on most phones. | Limited depth; occlusion errors; drape realism varies. | Quick outfit previews, tees, outerwear, simple silhouettes. |
| 3D Body + Cloth Sim | Builds a 3D body mesh from photos or scans; simulates garment physics. | Better fit and drape; supports size/fit adjustments. | More compute; needs clean inputs; may require calibration. | Fit-sensitive pieces like trousers, tailored items, dresses. |
| Generative AI (Image-to-Image) | Uses diffusion models to synthesize an image of you wearing the item. | High realism; handles pose changes; strong texture transfer. | Consistency of body details; risk of hallucinations on complex patterns. | Fashion exploration, creative styling, social previews. |
Many apps blend these methods: a fast 2D pass for instant results with optional 3D or generative refinement for higher realism. The right choice depends on your priority: speed, accuracy, or creative exploration.
What Actually Drives Fit Accuracy
Realistic try-ons don’t happen by accident; they result from accurate body estimation and clean garment inputs.
- Body measurements: Even a rough height and shoulder width improve scaling. Some apps estimate from a full-body photo; adding your height or known reference (doorframe, A4 paper) can improve accuracy.
- Pose and distance: A neutral stance, arms slightly away from the body, and a camera 6–8 feet away reduce distortion. Ultra-close selfies exaggerate proportions.
- Lighting and background: Soft, even light with a plain background helps the model separate you from the scene, minimizing “ghost” edges.
- Garment photography: Flat-lay or on-hanger shots with clear edges, front-facing, and true color calibration reduce warping and color shifts in the composite.
- Fabric behavior: Stiff denim or structured outerwear is easier to simulate than bias-cut silk or sheer fabrics; expect more variance on slippery, clingy, or semi-transparent materials.
- Accessories and hair: Bulky scarves, loose hair, or hats can confuse segmentation along edges like collars and shoulders.
Capture Setup: Simple Changes That Improve Results
Small tweaks dramatically boost realism. Try this setup once; you’ll reuse it forever.
- Space and background: Stand 6–8 feet from your camera against a plain wall or curtain. Remove nearby objects that overlap your outline.
- Lighting: Face a window; avoid strong backlight. If indoors at night, use two lamps at 45° angles to your face to reduce shadows.
- Camera placement: Chest-height tripod or a steady surface. Turn on gridlines and keep the camera level to avoid perspective distortion.
- What to wear: A fitted, neutral top and slim bottoms. Avoid bulky layers that hide body lines.
- Full-body framing: Include feet to the top of your head. Keep your posture tall, arms relaxed and slightly off the sides.
- Garment photos: For your own clothes, shoot front-on, well-lit, with the garment flat or on a hanger. Capture key details (collar, cuffs, patterns).
These habits help any VTO engine find your edges, scale garments correctly, and preserve texture details that sell the illusion.
Privacy and Data: What to Check Before You Try
Virtual fitting rooms often process sensitive imagery. A quick audit keeps you in control:
- Processing location: Prefer on-device inference for casual try-ons; if cloud processing is used, review the retention policy.
- Deletion controls: Look for one-tap purge of photos, meshes, and generated images.
- Metadata stripping: Ensure EXIF (location) data is dropped on upload and export.
- Share defaults: Disable auto-sharing to public feeds; confirm private-by-default settings.
- Model training consent: Opt out if you don’t want your images improving future models.
“Try before you buy” should never mean “share before you consent.” Your images, your rules.
Style Smarter With Virtual Try-On
Beyond fit checks, VTO is a powerful styling sandbox. Use it to test proportions, colors, and textures before committing in real life.
- Proportions and silhouette: Balance volume: pair wide-leg trousers with a fitted top; offset an oversized jacket with tapered jeans. Try the 2/3–1/3 rule for visually pleasing splits between top and bottom.
- Color strategy: Start with a two-color base and add a single accent. Use the color wheel: complementary (blue–orange), analogous (olive–khaki), or monochrome gradients.
- Texture mix: Combine smooth (silk) with nubby (bouclé), matte (cotton) with lustrous (satin) to keep looks dynamic.
- Pattern scales: Mix one large-scale pattern with a small-scale or a solid to avoid visual noise.
- Layering: Preview hemlines: crop a jacket to show a longer tee; let a shirt collar peek under a crewneck. VTO makes micro-adjustments fast.
- Footwear and hemlines: Check where trousers break on sneakers vs. boots; slight variations change the entire vibe.
- Occasion templates: Save “work smart casual,” “weekend errand,” “date night” outfits. Reuse the formula; swap colors seasonally.
Consider keeping a small tagging system so you can filter by mood, function, or weather. Here’s a lightweight example:
{
  "tags": ["work", "warm", "minimal", "earth-tones"],
  "base": ["navy chino", "white oxford"],
  "layer": ["khaki chore jacket"],
  "shoes": ["brown loafer"],
  "notes": "Roll sleeves, add woven belt, navy socks"
}
Use Cases That Go Beyond Shopping
- Wardrobe cataloging: Photograph your closet once; try virtual combos endlessly to rediscover pieces you already own.
- Travel planning: Build a mini capsule, preview 6–10 outfits from 8 items, and export a packing list.
- Content creation: Pre-visualize looks for shoots; align with photographers on palette and silhouette.
- Inclusive fit checks: For people with mobility challenges, VTO reduces the need for repeated changes when exploring sizes and cuts.
How to Measure VTO Quality (And When to Trust It)
Perfection isn’t required; consistency is. Track a few practical signals:
- Edge fidelity: Look at collars, cuffs, and waistlines. Crisp boundaries suggest good segmentation.
- Texture and print integrity: Plaids should stay aligned; ribbing should follow body curves without blurring.
- Shadow coherence: Garment shadows should match your scene lighting; mismatched shading breaks realism.
- Fit comparables: Compare to a known brand’s size that fits you. If VTO consistently matches, it’s reliable for that category.
- Outcome metrics: If you shop, watch your return rate and “time to decision.” Falling numbers indicate helpful try-ons.
For the technically curious, teams often evaluate with segmentation IoU (edge accuracy) and SSIM/LPIPS (image realism). As a user, your eye test plus return history is the real benchmark.
Common Pitfalls and Easy Fixes
- “Ghost” edges around hair or hands: Step farther from the background; tie back hair; improve front lighting.
- Color shifts: Calibrate light temperature; avoid mixed lighting (cool LEDs + warm lamps). Photograph garments in similar light to your try-on scene.
- Moiré on fine patterns: Back up the camera slightly or reduce pattern scale in photos; higher-resolution inputs can help.
- Proportion mismatch (too long/short): Provide height and inseam if the app allows; include your feet in the frame for better scale cues.
- Wrinkle or drape inaccuracies: Expect more variance on silks and bias cuts. Use VTO for silhouette and color; rely on size charts and reviews for drape-sensitive items.
- Accessory collisions: Remove scarves or bulky jewelry for the base photo; add accessories after the main garment fit is established.
Quick-Start Checklist
- Set your camera 6–8 feet away, level with your chest, against a plain background.
- Use soft, even light (window or two lamps at 45° angles).
- Wear a fitted base layer; tie back hair; adopt a relaxed, neutral stance.
- Enter your height; include your full body in the frame for better scaling.
- Photograph garments front-on with clear edges and true colors.
- Preview two sizes if available; compare silhouettes and key stress points (shoulders, seat, waist).
- Save successful looks to build repeatable outfit formulas.
What’s Next for Virtual Try-On
The near future promises faster and more faithful try-ons:
- On-device generative models: Private, instant synthesis with no cloud upload.
- Better body estimation: Lightweight LiDAR and multi-view capture improve scaling and posture accuracy.
- Smarter cloth physics: Hybrid engines that combine physical simulation with learned fabric behavior for more convincing drape.
- Standardized size maps: Cross-brand size translation reduces guesswork and returns.
- Wardrobe integration: Seamless links between your digital closet and live try-on to plan, share, and repeat looks.
As these pieces converge, VTO becomes less a preview and more a reliable decision tool.
Putting It All Together
Virtual try-on works best when you treat it like a fitting-room mirror with superpowers: give it clear lighting, a simple background, and a neutral stance; expect great guidance on silhouette, proportion, and color; and corroborate drape-sensitive pieces with reviews or size charts. With those expectations—and the setup tips above—you’ll get consistently useful, confidence-boosting results. If you’re exploring a digital wardrobe on iPhone, apps like Outfit Maker combine realistic virtual try-on with closet organization and outfit planning so you can test looks and save what works.
