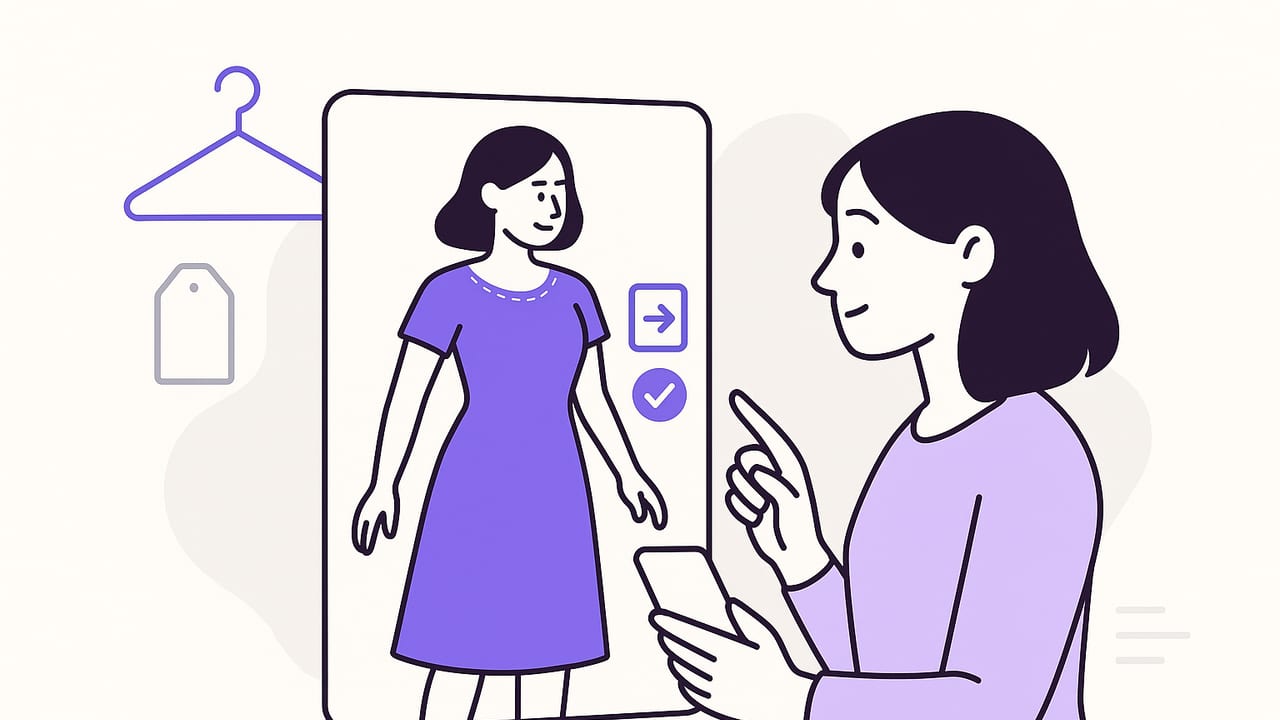
Virtual try-on has moved from novelty to everyday tool, helping people preview outfits, test sizes, and plan looks without a fitting room. Done well, it reduces guesswork and returns, clarifies what you already own, and speeds up decisions. Done poorly, it can mislead you with flattering but inaccurate previews. This guide explains how virtual try-on works, what influences realism, and how to get results you can trust.
How Virtual Try-On Works (End to End)
Although implementations vary, most apparel-focused virtual try-on systems follow a similar pipeline:
- Capture: You provide one or more photos or a live camera feed. Some apps build a 3D body from a single image; others ask for multiple angles or basic measurements.
- Segmentation & Pose: The system detects your body, key joints, and silhouette, separating you from the background and determining posture.
- Garment Modeling: The item is represented as a 2D texture, a 2.5D warpable map, or a full 3D garment with fabric properties.
- Fitting & Drape: The garment is scaled to your body proportions, then warped or simulated to follow your pose. More advanced engines model stretch, stiffness, and gravity.
- Rendering: Lighting, shadows, and occlusion (what goes in front of what) are applied so the outfit appears correctly layered on your image or avatar.
# High-level pseudo-pipeline for apparel virtual try-on
frame = capture_user_image()
body = detect_body(frame)            # segmentation + keypoints
pose = estimate_pose(body)
shape = infer_body_shape(body)
item = load_garment_model("denim_jacket.glb")  # or 2D texture
fitted = fit_garment(item, shape, pose)       # scaling + drape
composite = render(frame, fitted, lighting="auto", occlusion=True)
show(composite)
Body Capture
Single-image systems are fast and convenient but depend heavily on good lighting and a clear silhouette. Multi-angle or video capture improves fit and sleeve/hem behavior. Some devices add depth sensing, which helps with layering and body curvature.
Garment Modeling
- 2D overlay: Essentially a texture mapped onto your photo. Fast, but risky for fit accuracy.
- 2.5D warping: Learns how the fabric should deform around your body in your current pose.
- Full 3D cloth simulation: Uses physics to model drape, stretch, and thickness; most realistic, but computationally heavier.
Rendering and Lighting
Convincing virtual try-on demands proper occlusion (e.g., hair over a collar), correct order of layers, and lighting that matches the scene so colors, shadows, and textures look natural.
The Main Approaches to Virtual Try-On
| Approach | How It Works | Pros | Limitations | Best For |
|---|---|---|---|---|
| 2D Overlay | Static texture positioned on photo | Very fast, low compute | Poor drape/fit realism | Quick color/pattern checks |
| 2.5D Warping | Deforms garment map to silhouette | Good balance of speed and realism | Struggles with complex layering | Tops, tees, jackets |
| 3D Avatar + Cloth Sim | Physics-based drape on 3D body | Most accurate for fit and fabric | Heavier compute, setup | Dresses, flowy fabrics |
| Live AR Body Tracking | Real-time camera overlay | Interactive, instant feedback | Lighting and occlusion challenges | In-store mirrors, quick checks |
| Silhouette-Only | Focus on outline and length | Reliable for proportions | Less detail on fabric/texture | Hems, sleeve lengths |
What Actually Controls Accuracy
Several factors determine whether a virtual try-on reflects reality:
- Size Mapping: Systems need a way to translate your measurements to brand-specific size charts. If the engine assumes a generic medium, expect surprises.
- Fabric Behavior: Stiff denim, crisp poplin, and flowy viscose drape differently. Engines that treat all fabrics the same overestimate cling and underestimate structure.
- Pose & Occlusion: Crossed arms or half-turned poses can hide key landmarks. Keep a neutral, relaxed posture for baseline previews.
- Camera Distance & FOV: Standing too close introduces wide-angle distortion, making shoulders look broader and hemlines shorter.
- Lighting: Harsh backlighting can wash out textures; overly warm bulbs shift color. Use bright, diffuse light facing you.
- Texture Resolution: Low-res item images soften details like ribbing or twill; high-resolution inputs look more realistic.
- Category Complexity: Outerwear, tailored blazers, and dresses need better structure simulation than tees; flowy skirts demand strong fabric physics.
- Accessories & Footwear: Shoes and hats require perspective and occlusion accuracy; errors are more visible here.
A Step-by-Step Setup Checklist for Realistic Try-Ons
- Light smart: Stand facing a window or soft light source. Avoid strong backlight. If indoors, use two lamps at 45° angles to reduce shadows.
- Frame correctly: Place the camera at chest height, 2–3 meters away if possible. Keep lens centered; avoid tilting up or down.
- Neutral pose: Feet hip-width apart, arms relaxed at sides. Take a second photo seated if you care about how things drape when sitting.
- Wear a base layer: A fitted tee or tank avoids bulk that confuses the silhouette.
- Capture multiple angles: Front, 45°, and side views dramatically improve jacket lapels, collars, and sleeve predictions.
- Provide basic measurements: Height, weight, and either chest/waist/hip or your best-fitting size in a known brand improve size mapping.
- Tag garment types: Mark items as "stretch", "rigid", or "lined" when your app allows. This helps the engine choose the right drape model.
- Check color fidelity: Compare a known item’s color on screen to reality. If off, adjust white balance or lighting and recapture.
Styling Tactics You Can Test with Virtual Try-On
- Proportions: Experiment with half-tucks, cropped vs. full-length tops, and high-rise vs. mid-rise bottoms to refine your body balance.
- Color Pairings: Trial complementary colors, tonal gradients, and monochrome looks. Virtual try-on is excellent for de-risking bolder palettes.
- Layering: Verify collar stacking (tee + oxford + blazer), cardigan thickness under coats, and the visibility of hems.
- Footwear Swaps: Test sneaker vs. loafer vs. boot to see how it changes the line of trousers or the mood of a dress.
- Event-Specific Outfits: Pre-visualize interview, wedding guest, or date-night looks and save the best versions for quick recall.
- Travel Capsules: Mix-and-match 8–12 pieces to preview 10–15 outfits and pack lighter with confidence.
Rule of thumb: For anything tailored or flowy, take at least two photos (front and 45°). You’ll get a big jump in drape and sleeve accuracy.
How to Evaluate a Virtual Try-On App
Must-Have Features
- Reliable segmentation and occlusion: Hair over collars, hands over pockets, bags across the body should layer correctly.
- Size guidance: Lets you enter measurements or reference a brand/size to calibrate fit.
- Fabric-aware rendering: Differentiates stiff vs. stretchy vs. flowy items.
- Multi-angle support: Optionally builds a more robust body model with extra views.
- Wardrobe management: Organize, tag, and search your own items, not just store inventory.
- Share and compare: Save looks, get feedback, and revisit combinations later.
- Transparent data handling: Clear policies on storage, deletion, and on-device processing.
Red Flags
- Over-smoothing or face warping: If your face or skin looks airbrushed, the system may be hiding compositing flaws.
- No occlusion handling: The garment always sits "on top" of everything, causing floating collars or sleeves in front of hair.
- Universal size assumption: One-size-fits-all previews lead to unrealistic outcomes.
- Color drift: If whites look yellow and blacks look gray across items, lighting correction may be poor.
Common Mistakes and How to Fix Them
- Mistake: Standing too close to the camera. Fix: Step back, keep the lens at chest height to reduce wide-angle distortion.
- Mistake: Backlit selfies. Fix: Turn around so light faces you or use a soft front light.
- Mistake: Complex patterned background. Fix: Use a plain wall or tidy space to help segmentation.
- Mistake: Crossed arms or bent posture. Fix: Neutral stance; take a second image in a seated or walking pose if needed.
- Mistake: Ignoring fabric differences. Fix: Tag items as stretch/rigid and expect stiffer garments to hold shape.
Privacy, Data, and Ethics
Virtual try-on involves images of your body and your wardrobe, so consider:
- Consent and control: Ensure you can delete images and data at any time.
- On-device processing: When possible, choose apps that process photos locally for added privacy.
- Minimal necessary data: Be cautious with apps requiring excessive personal details beyond sizing.
- Secure sharing: If you share looks for feedback, verify link privacy settings and expiration options.
FAQ: Quick Answers
Can virtual try-on replace a fitting room?
Not entirely. It’s best for screening options, testing proportions, and narrowing sizes. For final checks on comfort and fabric hand-feel, in-person try-ons still help.
How do I know if the size is right?
Look for apps that map your measurements to brand size charts and show pressure or ease around key areas (shoulders, chest, hips). If sleeve and hem lengths consistently look off, recalibrate with height and arm length.
Does fabric type really matter?
Yes. Stiff denim, suiting, and structured coats require better physics. If your app’s simulations don’t change much between a silk blouse and a denim jacket, treat the preview as a color/proportion guide rather than a fit guarantee.
What about color accuracy?
Use daylight or neutral (5000–6500K) lighting facing you. Take a reference photo holding a known white or neutral gray object; if the preview looks too warm or cool, adjust your lighting and retest.
A Practical Workflow You Can Reuse
- Create a clean "try-on" spot with a neutral background and consistent lighting.
- Capture a baseline set: front, 45°, side, full-body, and seated shots saved in an album.
- Enter basic measurements once and keep them updated after significant body changes.
- Tag wardrobe items by category (top, bottom, outerwear), fabric behavior (stretch/rigid/flowy), and formality (casual/smart/dressy).
- When you add a new item, preview it across three typical outfits you already wear to assess versatility.
- Save your best looks into collections: work, weekend, travel, seasonal capsules.
Bottom Line
Virtual try-on is decision support: it shines at answering "Will this vibe and proportion work on me?" and "Which size is most likely right?" It is less definitive about fabric feel and micro-fit details like waist gap or shoulder padding. Use it to narrow options fast, plan confidently, and avoid impulse buys that don’t earn their keep.
If you want to bring virtual try-on into everyday outfit planning and smart closet organization on iPhone, apps like Outfit Maker combine realistic previews with a digital wardrobe so you can test combinations, save looks, and share for feedback without changing clothes.
