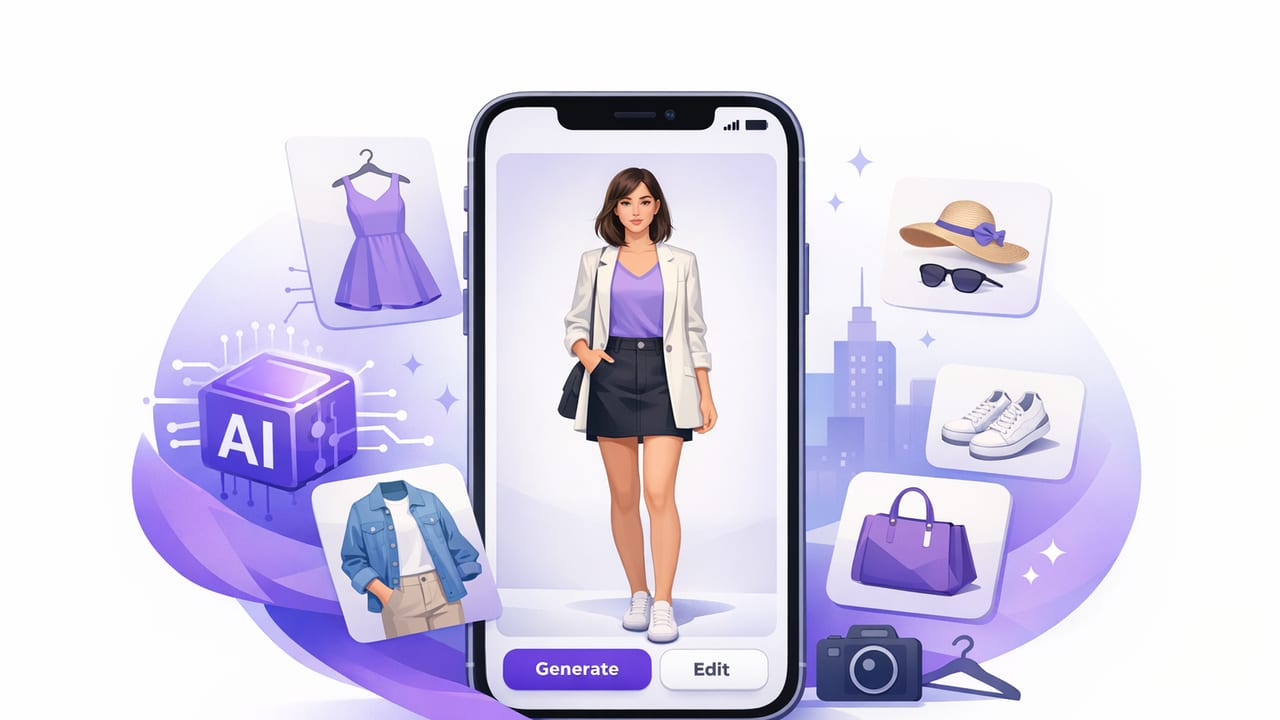
An ai outfit generator app for iOS can feel like a personal styling assistant in your pocket—without the time sink of trying on five outfits just to leave the house. The best results don’t come from “random outfit ideas,” though. They come from a repeatable workflow: capture your wardrobe correctly, add the right details, and use virtual try-on and outfit planning features with clear rules.
This guide walks through a practical, everyday system you can use with any digital wardrobe and virtual try-on setup on iPhone. The goal: fewer “I have nothing to wear” moments, smarter outfit decisions, and more use out of what you already own.
What an AI outfit generator actually does (and what it doesn’t)
At its core, an AI outfit generator uses your saved clothing items (or photos of them) plus context (weather, dress code, colors, preferences) to propose combinations. Many apps also include:
- Digital wardrobe catalog: store item photos, categories, colors, brands, and notes.
- Smart closet organizer tools: tags, filters, cost-per-wear tracking, and “unused items” reminders.
- Virtual try-on: preview outfits on your photo to judge silhouette and proportions.
- Outfit planning: build a week of looks, pack lists, or event outfits.
What it won’t do automatically: fix poor inputs. If your wardrobe photos are messy, colors are wrong, or items aren’t categorized, the suggestions will be less useful. Think of AI as an accelerator—your setup determines the quality of output.
Step 1: Capture wardrobe photos that “train” better suggestions
Before you generate outfits, build a clean wardrobe library. You don’t need studio shots—just consistency. Here’s a quick checklist for iPhone photos that work well in a digital wardrobe.
| Item type | Best photo style | Notes |
|---|---|---|
| Tops & outerwear | Flat lay or hanger, front view | Keep sleeves visible; avoid harsh shadows. |
| Bottoms | Flat lay, waistband aligned | Show full length to help proportion matching. |
| Dresses | Hanger, straight-on | Include neckline and hem shape. |
| Shoes | Side profile + top view (if possible) | Heels vs. flats can change outfit balance. |
| Bags & accessories | Front view | Note strap length (crossbody vs. shoulder). |
Photo tips that prevent “wrong color” outfit suggestions
- Use the same lighting (near a window is ideal).
- Use a neutral background (white wall, plain sheet, or wood floor).
- Turn off heavy filters—AI (and you) need true color.
- Photograph patterns clearly (stripes, checks, florals) so the app can avoid clashes.
Rule of thumb: if you wouldn’t confidently shop your own photo on a resale site, it’s probably not clear enough for outfit planning.
Step 2: Add the 5 metadata fields that matter most
When people abandon wardrobe apps, it’s usually because logging items feels like homework. Keep it light, but add the fields that make outfit generation useful.
- Category (e.g., blazer, tee, wide-leg trousers)
- Color family (e.g., black, navy, cream, olive)
- Season/weight (summer, transitional, winter)
- Dress code (casual, smart casual, business, formal)
- Fit notes (cropped, oversized, high-rise, ankle-length)
If your ai outfit generator app for iOS supports tags, create a small set you’ll actually use. Examples: “needs ironing,” “layering piece,” “comfortable,” “special occasion,” “rain-friendly.”
Step 3: Create outfit “formulas” so AI suggestions match real life
The fastest way to get outfits you’d actually wear is to define a few formulas—repeatable structures that fit your lifestyle and body preferences. Then you can filter or steer generation accordingly.
5 formulas that work for most wardrobes
- Polished casual: knit + straight jeans + structured shoe + light jacket
- Office-ready: top with clean neckline + tailored bottom + blazer + closed-toe shoe
- Weekend: tee + relaxed bottom + sneaker + practical layer
- One-and-done: dress/jumpsuit + (optional) topper + simple shoe
- Cold-weather: base layer + warm mid-layer + coat + weather shoe
When an app generates an outfit that feels “off,” it’s often missing one formula element (wrong shoe category, too many relaxed pieces, no structure). Treat the AI as a draft and edit with the formula.
Step 4: Use virtual try-on to check proportion, not perfection
Virtual try-on is most helpful for silhouette decisions: hem lengths, bulk, and how pieces relate on your body. It’s less reliable for fabric drape and micro-fit, so don’t overthink small details.
What to look for in a virtual try-on preview
- Waist placement: does the top visually end at the most flattering point?
- Volume balance: if one piece is oversized, is the other more streamlined?
- Contrast placement: high-contrast breaks (light top/dark bottom) emphasize the midline.
- Length harmony: cropped jacket + high-rise bottom often reads intentional; long top + long outer layer can feel heavy.
Use the preview to eliminate 80% of bad combos quickly. Save your real try-on time for the final two options.
Step 5: Plan a week of outfits in 15 minutes
Weekly planning is where a smart closet organizer becomes a true time-saver. The key is planning around constraints first, then generating outfits second.
A simple weekly workflow
- List your “context” days: office, gym, dinner, travel, formal, weather swings.
- Pick 1–2 anchor pieces per context day (a blazer for meetings, a rain jacket for commute).
- Generate or assemble outfits around anchors using your app’s filters (dress code, season, color).
- Check repetition: avoid wearing the same shoe three days in a row unless that’s intentional.
- Save a backup outfit for the busiest day (comfort + reliability wins).
Pro tip: if your app supports calendars or notes, label outfits with friction reducers like “no ironing,” “walkable shoes,” or “warm enough for 45°F.” Small notes prevent morning indecision.
Step 6: Add a lightweight “outfit scoring” rule
If you like structure, add a simple scoring system to decide between similar options. You can do this mentally, in a note, or in a spreadsheet.
// Quick outfit score (0–10) example
// 1) Comfort (0–3)
// 2) Dress code match (0–3)
// 3) Weather readiness (0–2)
// 4) Confidence (0–2)

score = comfort + dressCode + weather + confidence
choose outfit with highest score
This pairs well with an ai outfit generator app for iOS: generate 3 options, score them quickly, and move on.
Common issues (and fixes) when AI outfit suggestions feel wrong
Problem: “It keeps pairing items I never wear together.”
Fix: tag your “never together” conflicts (e.g., “too bulky,” “same vibe”) or mark disliked outfits so the app learns. Also check that categories are accurate (a “cardigan” mislabeled as “coat” can skew layering logic).
Problem: “It suggests outfits that don’t match my lifestyle.”
Fix: build filters around dress code and shoe reality. If you walk a lot, set a default of walkable shoes and treat heels as event-only.
Problem: “Colors look off in the app.”
Fix: re-shoot the item in natural light and set the color family manually (especially for navy vs. black, cream vs. white, and warm vs. cool grays).
Privacy and photo hygiene on iPhone
Because wardrobe apps rely on your images, it’s worth building a quick privacy routine:
- Use iOS photo permissions carefully (limited access is often enough).
- Avoid capturing identifiable backgrounds (mail, documents, faces) when photographing clothes.
- Keep a separate “Wardrobe” album so you can audit what’s stored and delete easily.
FAQ: choosing and using an AI outfit generator app on iOS
Do I need to upload my entire closet?
No. Start with your top 30–50 items (most-worn tops, bottoms, shoes, outerwear). A smaller, accurate wardrobe beats a huge, messy one.
How often should I update my digital wardrobe?
Monthly is plenty for most people. Add new purchases as they come in, and seasonally archive items you won’t wear for a few months.
Can AI replace personal style?
It’s better viewed as a decision tool. You still choose what feels like you—AI simply reduces the effort of testing combinations and remembering what works.
Putting it all together: the “less time, better outfits” system
If you take only three actions: (1) capture clear photos, (2) add the five key metadata fields, and (3) use outfit formulas, you’ll get dramatically better output from any ai outfit generator app for iOS. From there, virtual try-on and weekly planning become fast, practical habits instead of another app you forget.
If you’re looking to try this workflow in a dedicated iPhone tool, Outfit Maker is one option that combines a digital wardrobe, outfit generation, and virtual try-on in one place.
