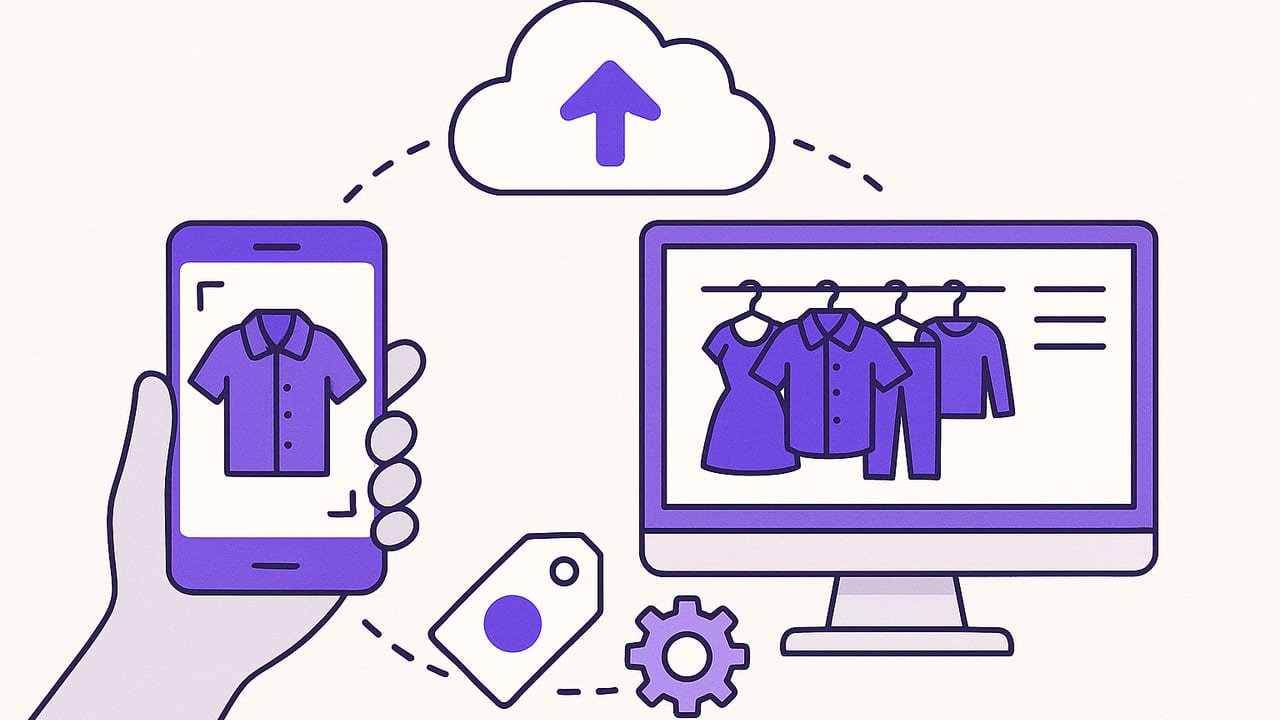
If you’ve been wondering, “how to upload my wardrobe online,” you’re not alone. A digital closet saves time, reduces decision fatigue, and helps you wear more of what you already own. This guide walks you through the entire process—from choosing the right platform to photographing, naming, tagging, and automating uploads—so your wardrobe becomes a searchable, shoppable, and shareable resource.
Big idea: The best closet isn’t the biggest; it’s the one you can search, filter, and plan from—anytime, anywhere.
1) Pick Your Digital Home: Where Your Wardrobe Will Live
Before you take a single photo, decide where your items will be stored and how you’ll access them. Your choice affects speed, accuracy, and how often you’ll actually use your digital wardrobe.
| Option | Best For | Key Features | Cost | Notes |
|---|---|---|---|---|
| Wardrobe/Outfit App | Virtual try-ons, outfit planning, tagging | Background removal, categories, lookbooks | Free–Low | Fastest setup; all-in-one experience |
| Cloud Drive + Spreadsheet | DIY control, custom fields | Folders, links, filters, pivot tables | Free–Low | Great for power users and bulk workflows |
| Private Photo Album | Simple visual catalog | Albums, favorites, tags | Free | Limited search/filter depth |
| Notion/Database | Custom schemas, dashboards | Relational tags, gallery views | Free–Low | Flexible but requires setup time |
Tip: If you want the least friction, start with a wardrobe-focused app. If you’re spreadsheet-savvy, a cloud drive + sheet combo gives maximum customization.
2) Prep Items and Space Before You Shoot
Good photos are the foundation of a useful digital wardrobe. A few minutes of prep reduces retakes and editing time.
Quick Pre-Shoot Checklist
- Declutter: Pull only clean, wearable items. Set aside donations and repairs.
- Groom garments: Steam/iron, lint-roll, and button/zip everything.
- Neutral background: A plain wall or large white sheet works.
- Consistent lighting: Indirect daylight near a window is ideal. Avoid mixed lighting.
- Staging: Use a hanger, flat lay, or mannequin. Keep accessories out unless they’re part of the item.
Photography Tips That Save Time
- Framing: Fill the frame but leave a small border. Center the item.
- Angles: One front photo is mandatory; add back and detail shots for tricky pieces.
- Orientation: Shoot portrait for tops/dresses, landscape for shoes and bags.
- Color accuracy: Turn off “vivid” filters. Lock white balance if possible.
- Consistency: Use the same background and distance to make items look cohesive.
Common mistakes to avoid: busy backgrounds, wrinkled items, harsh overhead shadows, and using the camera’s zoom (step closer instead).
3) File Names and Folders: A System You’ll Stick With
Consistent file names make your closet searchable even outside an app. Use a pattern that includes category, color, size, and brand. Add a unique ID to avoid duplicates.
Suggested Naming Pattern
category_subcategory-brand-color-size_condition-season_uniqueID.jpg

# Examples
jacket_blazer-everlane-navy-38r_excellent-fall_00123.jpg
dress_wrap-reformation-black-4_good-summer_00456.jpg
shoes_sneakers-newbalance-white-9_like-new-year-round_00789.jpg
Recommended Folder Structure
Wardrobe/
  01_Tops/
  02_Bottoms/
  03_Dresses_Jumpsuits/
  04_Outerwear/
  05_Shoes/
  06_Bags/
  07_Accessories/
  08_Special_Occasion/
  Archive/
Use “Archive” for items you no longer wear but want to keep for reference (e.g., size history, resale listings).
4) Tag Your Items: What to Capture and Why
Tags turn a photo gallery into a database. The goal is fast filtering: “red summer dress,” “black leather boots,” “business casual shirts.”
| Field | Examples | Why It Matters |
|---|---|---|
| Category / Subcategory | Top > T-shirt; Outerwear > Trench | Core structure for navigation |
| Color (Primary/Secondary) | Primary: Navy; Secondary: White stripe | Mix-and-match, palette building |
| Pattern | Solid, Stripe, Plaid, Floral | Clash avoidance and style cohesion |
| Fabric | Cotton, Wool, Linen, Silk, Denim | Care, seasonality, comfort |
| Fit | Relaxed, Regular, Tailored | Silhouette planning |
| Season | Spring, Summer, Fall, Winter, Year-round | Rotation and packing |
| Occasion | Work, Casual, Event, Travel, Gym | Outfit search by context |
| Care | Machine cold, Hand wash, Dry clean | Laundry planning and cost |
| Wear Count | Numeric (0, 1, 2…) | Cost-per-wear insights |
If you’re using a spreadsheet, create columns for each field and paste the image link from your cloud drive. In a wardrobe app, add tags through the item editor.
5) The 30-Minute Batch Workflow (Start-to-Finish)
Batching keeps you moving and ensures consistency. Set a timer and work in focused sprints.
- Sort (5 minutes): Pull 10–15 items by category. Prep them (lint-roll, steam).
- Shoot (10 minutes): One front photo per item; optional back/detail. Keep framing identical.
- Edit (5 minutes): Crop, straighten, and adjust exposure/white balance in batches.
- Rename (5 minutes): Apply your naming pattern. Use a bulk rename tool on desktop or a shortcut on mobile.
- Upload (5 minutes): Move files into the correct folder or import them to your app. Add tags while details are fresh.
Repeat this batch 2–3 times and you’ll have 30–45 items uploaded in a single session—enough to start planning outfits.
6) Automate on iPhone: A Simple Shortcut Flow
Automation reduces taps and typos. Here’s a starter workflow you can build with the Shortcuts app on iOS.
- Take Photos using the Camera action, save to a “To Upload” album.
- Prompt for Details (Ask for Input) for category, color, brand, size, season, condition.
- Construct File Name with a Text action using your pattern.
- Save to Folder in iCloud Drive/Files based on category (e.g., 01_Tops).
- Create Spreadsheet Row via a Sheets or Numbers automation (or append CSV text) including: file name, public link, tags, date added.
- Remove Location Data by exporting without metadata or using a metadata-removal step.
- Notify with a confirmation and quick link to the file.
Optional add-ons: background removal, auto-resizing to reduce storage, and generating a shareable outfit board template.
7) Background Removal: When and How to Use It
Removing backgrounds makes items look consistent and helps with digital try-ons. Use this selectively—busy textures (like lace or fringe) can look unnatural when cut out.
- Use auto tools for clean edges on solid items (tees, jeans, sneakers).
- Keep natural shadows or add a soft drop shadow for realism.
- Avoid over-smoothing; preserve fabric texture so color and drape remain accurate.
8) Privacy, Links, and Backup Strategy
Uploading your wardrobe online should feel safe and dependable.
- Metadata hygiene: Strip location data from images before sharing.
- Private vs. public: Use private links for sharing outfits with friends; avoid public indexes.
- Access control: Create a separate folder for sharable items; keep personal notes in a private sheet.
- Backup (3-2-1 rule): 3 copies, 2 different media, 1 off-site. Example: phone + cloud drive + external SSD.
- Versioning: If your platform supports it, keep earlier file versions in case you overwrite edits.
9) Example Spreadsheet Schema
Whether you use a wardrobe app or a sheet, here’s a simple schema you can mirror. It keeps filtering fast and future-proofs your data if you switch tools later.
| Column | Type | Sample Value |
|---|---|---|
| Item ID | Text | 00123 |
| File Name | Text | jacket_blazer-everlane-navy-38r_excellent-fall_00123.jpg |
| Image URL | Link | https://drive.example.com/... |
| Category | Dropdown | Outerwear |
| Subcategory | Dropdown | Blazer |
| Brand | Text | Everlane |
| Color (Primary) | Dropdown | Navy |
| Color (Secondary) | Dropdown | None |
| Size | Text | 38R |
| Fabric | Dropdown | Wool blend |
| Season | Dropdown | Fall |
| Occasion | Multi-select | Work; Smart Casual |
| Condition | Dropdown | Excellent |
| Wear Count | Number | 7 |
| Date Added | Date | 2024-08-15 |
| Notes | Text | Tailored at waist; pairs with grey chinos |
10) Mini-Playbook: Solve Common Upload Problems
- “My photos look dull.” Move closer to a window, turn off overhead lights, and increase exposure slightly. Use a neutral background.
- “Colors don’t match real life.” Lock white balance or use the same lighting each time. Add a white sheet of paper to the frame to help your eyes calibrate.
- “Too many items to start.” Begin with the 30 items you wear most. Add 10 per week.
- “Complex sets (suits, co-ords).” Photograph each piece solo and once together. Link them in your tags or notes.
- “Shoes look distorted.” Shoot at shoe height from the side. Avoid wide-angle lenses up close.
- “Wrinkles are obvious.” Steam quickly or use a fabric-smoothing pass in editing—light touch is better than over-processing.
11) From Uploads to Outfits: Make Your Closet Work for You
Once your items are online, the real value comes from planning and discovery. Use filters like season + occasion to build a weekly rotation. Track wear counts to spot MVPs and identify pieces you never reach for. Create mini-capsules (e.g., a 10-piece travel set) with saved albums or collections.
Simple Outfit Formulas
- Monochrome base + contrast layer: Black tee + black jeans + tan trench.
- Two neutrals + one accent: Navy chinos + white shirt + olive jacket.
- Texture mix: Smooth tee + denim + chunky knit.
If you prefer visual planning and realistic try-ons, consider a wardrobe app that supports background removal, tagging, and outfit boards to speed up this step.
12) Your Quick Start Plan
- Choose a platform (app, cloud+sheet, or Notion).
- Set your naming pattern and folder structure.
- Batch 15 items: shoot, rename, upload, tag.
- Build one weekly outfit plan from those items.
- Repeat next weekend and refine tags as you go.
In a few sessions, you’ll have a digital wardrobe that’s searchable, sharable, and ready for daily outfit planning—fully answering the question of how to upload my wardrobe online with a process you can sustain.
Looking for an iOS-first way to catalog pieces, plan looks, and virtually try on combinations? Outfit Maker offers an AI outfit generator and smart closet organizer that can streamline the steps above while keeping everything in one place.
