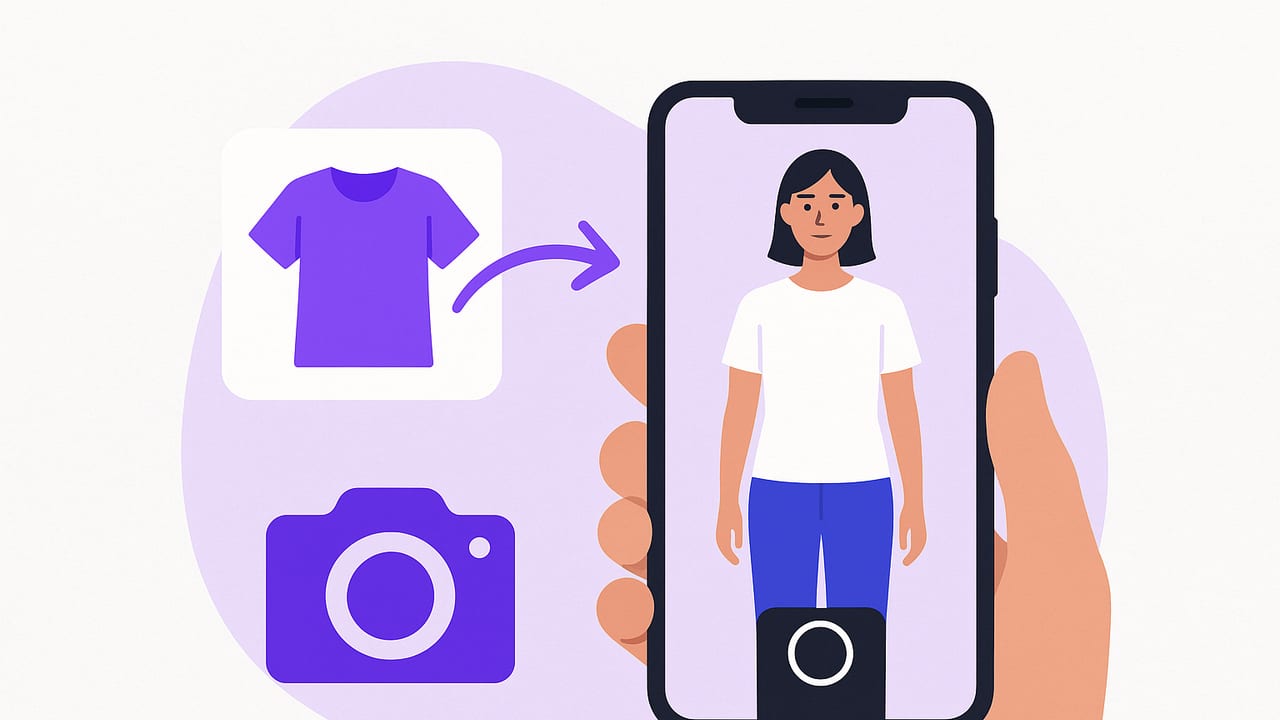
If you’ve ever wished you could try on outfits without changing, you’re not alone. With today’s camera quality and accessible AI tools, you can try on my clothes virtually from photos and see complete looks—accurate colors, believable drape, and realistic proportions—right on your phone. This guide walks you through an end-to-end workflow, from capturing clean photos and removing backgrounds to layering, scaling, and comparing outfits for any occasion.
What “virtual try-on from photos” actually means
Virtual try-on from photos simulates how your real clothes look on your real body using images you capture at home. Instead of relying on brand product pictures or generic models, you photograph your garments and yourself, then use editing or AI to place garments onto your body image with the right proportions and layering. The result is a fast, low-effort way to preview outfits and plan looks without physically changing.
- Different approaches: manual collage with background removal, AI garment segmentation and warping, or augmented reality (AR) overlays.
- Best for: outfit planning, packing lists, capsule wardrobes, color coordination, and quick “what to wear” decisions.
- Expectations: You can get surprisingly realistic results for tops, jackets, skirts, and dresses. Pants and highly structured pieces benefit from multiple angles and careful scaling.
Tools and setup
You don’t need a studio. A small, consistent setup beats expensive gear.
- Phone camera: Recent iPhone or Android with good lighting performance.
- Lighting: Bright window light or two lamps placed at 45° angles to reduce shadows.
- Background: Plain wall or large sheet. Neutral gray or white works best.
- Tripod/stand: Optional, but it helps keep framing consistent.
- Apps/software: Background remover, simple editor with layers, or an AI outfit tool.
| Method | Skill level | Time per item | Pros | Cons | Best for |
|---|---|---|---|---|---|
| Manual collage (background removal) | Beginner | 2–5 min | Simple, precise control | More manual steps | Occasional outfit planning |
| AI try-on from your photos | Beginner | 1–3 min | Fast, auto-scaling/warping | Quality varies by app | Daily outfit previews |
| AR overlay (camera-based) | Beginner | Live | Instant feedback | Less accurate for drape | Quick color/shape checks |
| Desktop editor (Photoshop/Affinity) | Intermediate | 3–10 min | Maximum control, pro-quality | Learning curve | Lookbooks, content creation |
Step-by-step: try on my clothes virtually from photos
Step 1: Capture a base photo of you
Your base photo is the foundation. Keep it neutral and repeatable so you can reuse it for many outfits.
- Pose: Stand tall, arms slightly away from your sides, feet hip-width apart. Take front and slight 3/4 angle.
- Outfit: Wear a fitted base layer (tank, leggings) in a neutral color. This avoids bulk that distorts proportions.
- Framing: Include head to shoes. Position the camera at mid-torso height to reduce perspective distortion.
- Lighting: Face the window; avoid harsh overhead light. Use the same spot each time.
- Privacy: If you prefer, crop your face or blur it later; keep consistent posture.
Step 2: Photograph your garments
Clean, evenly lit garment photos make everything easier. Aim for a “catalog” look you can repeat for your entire wardrobe.
- Surface: Use a flat table or hang on a wall/hanger against a plain background.
- Angles: Tops and dresses: front facing; add back shots if you plan to style reversed layers. Pants and jeans: flat front, plus a side angle if tapering is important. Jackets/coats: front and 3/4 for lapels and collar.
- Distance: Keep the camera the same distance for every garment to make scaling predictable.
- Prepping: Steam or iron to remove wrinkles. Close zippers, button plackets.
- Details: Capture accessories (belts, scarves, bags) separately for accurate layering.
Step 3: Remove backgrounds and clean edges
Background removal isolates the garment so you can layer it over your base photo.
- Automate: Use a background remover to cut out the garment. Refine with a soft 1–2 px feather on edges.
- Shadows: Keep a faint original shadow if available, or add a soft drop shadow under the garment for realism.
- Color consistency: White-balance your garment photos so whites look neutral on screen.
Step 4: Scale garments to your body
Accurate scaling is crucial. Use one or two fixed measurements that are easy to see in photos:
- Shoulder width: Measure shoulder seam to seam on the garment, then match that distance to your shoulder width in the base photo.
- Waist/hip alignment: Use visual anchors like the belly button, waistband, or hip bone location to place waistlines accurately.
Simple scaling formula:
// Example proportional scaling for a top
// Measure in pixels using your editor's ruler
bodyShouldersPx = 680
shirtShouldersPx = 720
scalePercent = (bodyShouldersPx / shirtShouldersPx) * 100  // 94.4%
// Apply ~94% scale to the shirt layer
For longer garments, double-check the hem. If the hem falls far higher or lower than expected after shoulder alignment, the garment photo may be too angled—reshoot or gently warp the hem to match your stance.
Step 5: Layer and style
Layer order determines realism:
- Base layer (you)
- Underlayers (e.g., camisole)
- Main top
- Mid-layer (cardigan, blazer)
- Outerwear (coat)
- Bottoms (tucked vs. untucked determines overlap)
- Accessories (belts, necklaces, scarves, bags)
- Shoes (match stance/angle)
Tips for realism:
- Tucks and cuffs: Use a soft eraser or layer mask to hide parts that would be tucked under a waistband or cuffed at the ankle.
- Drape: A subtle warp on hems, lapels, and sleeves follows your body line.
- Shadowing: Add a very light inner shadow where a garment covers the body (e.g., collarbone area) to suggest depth.
Step 6: Save, tag, and compare
Organization is the difference between a few experiments and a functional digital wardrobe.
- Tags: Color (navy, camel), category (top, pants, blazer), season, dress code, occasion (work, brunch, travel).
- Versions: Save a layered master file plus a flattened JPEG for quick comparison.
- Side-by-side: Create a two- or four-grid image of outfit variations to decide faster.
Pro tip: Standardize your framing so every outfit image has the same crop. Your eye compares proportions and hemlines more accurately when the canvas is consistent.
Accuracy tips: color, drape, proportions
- Color accuracy: Turn off warm “night” settings. Set a white sheet in one photo and use auto white-balance based on that. Avoid mixed lighting (window + tungsten).
- Fabric cues: Capture subtle cues that convey drape: sleeve roll, pleat direction, pocket opening. They keep garments from looking “sticker-like.”
- Heels vs flats: If your base photo is in flats but you plan to wear heels, take a second base photo in heels to preserve posture and hemline realism.
- Print alignment: For stripes/checks, reduce distortion by photographing the garment straight-on and level with the camera.
Common problems and quick fixes
- “The colors look off.” Your garment photo is warm; your base photo is cool. Use a neutral gray point or temperature slider to align both. Aim for RGB parity in whites.
- “Oversized pieces look like paper cutouts.” Add gentle curvature via warp on sleeves and hem. Keep a faint shadow under the garment to suggest volume.
- “Jeans look too short/long.” Scale using crotch-to-hem proportion, not waist-to-waist alone. If you cuff in real life, mask a cuff in the image, too.
- “Shoes look misaligned.” Photograph shoes from a matching angle to your stance (slight 3/4) and keep both shoes in one frame so perspective matches.
- “White tees disappear on white backgrounds.” Add a 1–2 px mid-gray stroke or a soft drop shadow at 10–15% opacity.
Privacy, storage, and naming
Keep your wardrobe images easy to find and safe to use across devices.
- Local vs cloud: If you prefer privacy, store locally or in an encrypted drive. If syncing across devices, enable two-factor authentication.
- Face privacy: Save a face-cropped base image you can reuse, and keep the original private.
- Naming convention: Use consistent, searchable names for bulk editing and filtering.
// Suggested folder & file naming
/Closet/
  /BasePhotos/
    base_01_front_neutral_170cm.jpg
    base_02_34angle_heels_170cm.jpg
  /Garments/
    tops_white_crewtee_m.jpg
    bottoms_black_ankletrouser_6.jpg
    outerwear_camel_coat_m.jpg
  /Outfits/
    work_camel_blazer_white_tee_black_trouser_v1.jpg
    weekend_denim_shacket_stripe_tee_wideleg_v2.jpg
Quick workflows for common goals
1) Work capsule refresh
- Base in flats and a second base in low heels.
- Photograph 3 tops (white, light blue, print), 2 bottoms (black, navy), 1 blazer, 1 cardigan.
- Create 6–9 combinations. Compare side-by-side grids to spot the most versatile pieces.
2) Special event look
- Photograph dress from front and 3/4, plus two shoe options and two bags.
- Adjust hem and neckline with a subtle warp to match posture.
- Test jewelry scale by matching pendant width to collarbone span.
3) Carry-on travel plan
- Photograph 2 tops, 2 bottoms, 1 dress, 1 layer, 2 shoes.
- Use one base photo in flats for day, one in dressier shoes for evening.
- Assemble a 10-outfit matrix. Tag by temperature range and dress code.
Checklist: from first photo to finished outfit
- Pick a plain background and stable lighting spot.
- Take a neutral base photo (front and 3/4; flats and heels if needed).
- Photograph garments front-on; steam/iron first.
- Remove backgrounds; feather edges 1–2 px; add light shadow.
- Scale using shoulder width or waist anchors; double-check hemline.
- Layer in order; mask tucks and cuffs; add subtle depth shadows.
- White-balance for color accuracy; keep framing consistent.
- Save layered master + flattened comparisons; tag for searchability.
Frequently asked questions
Do I need a mannequin or dress form?
No. A flat surface or hanger works. Consistent angle and distance matter more than a form, though a form can improve drape cues for structured jackets.
How do I handle sheer or lace fabrics?
Keep some transparency. In your editor, lower the garment layer opacity to 90–95% or use multiply blend for lace so underlying skin or base layer subtly shows.
Can I simulate tailoring (hemming, tapering)?
Yes. Use masks to crop length and a gentle warp to indicate taper. Save a “tailored” variation to compare before altering the real piece.
What about prints that moiré on camera?
Step back and zoom in slightly to reduce sensor aliasing. Photograph prints in diffuse light; avoid harsh spotlights that cause ripple patterns.
Putting it all together
To build a reliable digital wardrobe, focus on repeatable capture, consistent scaling, and organized tagging. Once you have a clean base photo and a handful of well-shot garments, you can assemble outfits in minutes and compare them side by side. That means less closet chaos, fewer last‑minute changes, and more confidence in what you wear.
If you’d like these steps in a single iOS workflow—photo capture, background removal, smart scaling, layering, tagging, and sharing—consider a dedicated outfit planner app like Outfit Maker, which can turn your existing closet into a try‑on ready, digital wardrobe.
