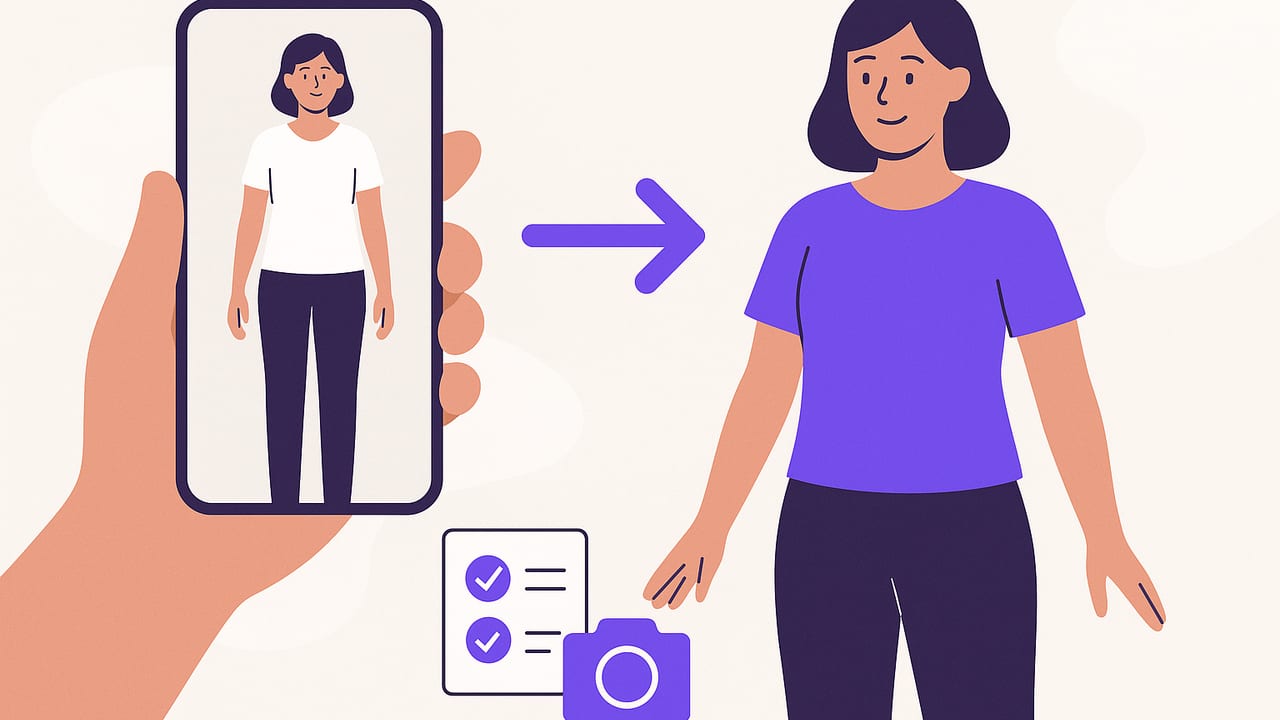
Being able to try on clothes from photos can save time, cut returns, and help you plan better outfits. Whether you’re testing a new jacket against your favorite jeans, previewing a special-occasion look, or evaluating capsule wardrobe combinations, modern AI tools make it possible to visualize realistic fits without changing clothes. This guide explains how it works, how to capture photos that produce accurate results, and which workflows to use depending on your goals.
What “try on clothes from photos” actually means
There are a few distinct approaches that all get labeled as virtual try-on. Understanding them helps you choose the right method for your needs:
- 2D overlay collage: Basic layering of clothing cutouts onto a body photo; quick but often unrealistic.
- AI garment warping: The garment image is segmented and algorithmically draped to your body photo; realistic for single garments and simple layers.
- Full-body generative try-on: A model reshapes lighting, pose, and clothing together for photorealism; great for full looks, requires quality inputs.
- 3D avatar try-on: A body model and garment mesh simulate drape and physics; the most technical, typically used by brands.
Rule of thumb: the more a method understands your body shape, pose, fabric, and lighting, the more convincing the result.
Capture checklist: the photos that make results believable
High-quality inputs are the biggest predictor of convincing AI try-ons. Use this capture checklist to dramatically improve realism.
Your body photo (the “canvas”)
- Pose: Stand naturally with arms slightly away from your sides so sleeves and side seams can be placed correctly. Avoid extreme twists.
- Framing: Include head to mid-thigh for tops; full length for dresses or pants. Leave space around your body.
- Lighting: Soft, even daylight or diffused indoor light. Avoid harsh shadows and mixed color temperatures.
- Background: Plain wall or uncluttered backdrop. Distance yourself ~1–2 meters from the wall to reduce shadows.
- Wardrobe base: Wear a fitted, neutral base layer (e.g., slim tee and leggings) in a color that won’t bleed through. Tie back long hair if it covers shoulders.
- Camera: Use your phone’s main lens (1x), not ultra-wide, to avoid distortion. Set focus on your face or chest and lock exposure if possible.
- Stability: Use a tripod or lean your phone on a stable surface. Enable a 3–10 second timer to avoid camera shake.
Your garment photos (the “drape”)
- Presentation: Photograph garments flat on a contrasting surface or hanging on a thin hanger. Smooth wrinkles and align seams.
- Angles: Front view is essential. Capture back and detail close-ups if available (collars, buttons, patterns).
- Lighting: Same rules as above—soft and even. Ensure true-to-life color capture.
- Framing: Fill the frame but keep margins for segmentation. Don’t crop sleeves, hems, or collars.
- Reference: Place a simple reference item of known size (e.g., a card) near the garment for scale consistency when needed.
- Background: Simple, solid color for easy background removal. Avoid busy patterns under the garment.
Prep and cleanup: small edits, big gains
Before you try on clothes from photos, spend a few minutes prepping files. This is often the difference between “nice idea” and “wow, that looks real.”
- Background removal: Use a background remover on garment images to create clean cutouts with soft edges. Check edges around collars, hems, and sleeves.
- Color and exposure: Make light color correction so the garment matches its true shade. Slightly increase contrast for textured fabrics.
- Resolution: Work with 1500–3000 px on the shortest side for balanced quality and speed. Avoid overly compressed images.
- Consistency: Keep the same lighting style across body and garment photos when possible.
- Naming: Name files for quick retrieval and versioning.
# Suggested naming format
body_001_neutral_1x.jpg
top_denim_jacket_blue_front_v2.png
dress_wrap_flower_front_v1.png
Methods compared: speed vs realism
| Method | How it works | Realism | Best for | Time | Notes |
|---|---|---|---|---|---|
| 2D overlay collage | Manual layer + scale + rotate | Low | Quick color/shape checks | Very fast | No fabric drape or occlusion |
| AI garment warping | Segment and warp garment to body | Medium–High | Tops, jackets, simple layers | Fast | Good balance of speed/realism |
| Full-body generative | Model redraws outfit on body | High | Complete looks, complex styling | Moderate | Requires quality inputs, may alter pose |
| 3D avatar try-on | Avatar + cloth simulation | High | Fit analysis, multiple angles | Slower | Setup overhead; best for advanced users |
A reliable workflow to try on clothes from photos (step-by-step)
This balanced approach uses AI garment warping with light generative refinement—fast, realistic, and great for everyday planning.
- Import your body photo. Choose a well-lit, neutral pose as your base.
- Add the garment cutout. Use a PNG with transparent background for clean edges.
- Rough placement. Scale and rotate to align the neckline, shoulder seams, and centerline first. Ignore sleeves and hems for now.
- Warp the garment. Use a warp or drape tool to align darts, lapels, and sleeves with the body’s contours. Pay attention to shoulder slope and chest width.
- Handle occlusions. For open jackets or layered outfits, add a quick mask so the garment appears behind arms or in front where appropriate. This sells depth.
- Lighting match. Add a subtle shadow on the body and a mild highlight on the garment if your body photo has directional light. Avoid overdoing it.
- Texture restore. If warping dulled texture (e.g., ribbing, denim weave), lightly sharpen or add micro-contrast only on the garment layer.
- Optional generative refine. Run a light pass that preserves pose and face but improves seam continuity and fabric folds. Lock seed if your tool supports it to keep consistency across outfits.
- Export and compare. Save variants side by side to evaluate realism and fit.
Troubleshooting: quick fixes to common artifacts
- Sleeves don’t align: Re-warp from the shoulder outward; ensure the elbow bend matches your arm angle.
- Collar floats or sinks: Nudge the neckline anchor points; feather the mask at the collar bone to blend.
- Color looks off: Sample skin midtone and garment midtone to balance white balance; adjust temperature and tint.
- Patterns distort: Apply warp gently and in small regions; prioritize preserving pattern straightness over exact edge alignment.
- Garment looks pasted on: Add a soft, low-opacity shadow under hems and sleeve edges; match contrast to body photo.
- Wrong garment length: Use your reference object for scale; keep consistent pixel-per-inch across sessions.
- Body shape mismatch: Don’t distort your body to fit the garment; instead, warp the garment to the body or choose a different size image.
Privacy, consent, and sharing
When you try on clothes from photos, you’re often working with face images and personal wardrobe. Protect your data and the people in your photos.
- Consent: Only use photos of people who consent to editing and sharing.
- Face handling: Consider face anonymization or gentle blur for public posts.
- Storage: Keep originals and edits in separate folders; remove metadata if sharing publicly.
- Minors: Use extra caution; consider silhouettes or faceless angles.
- Attribution: If you edit third-party catalog photos, follow brand guidelines and local laws.
Evaluate realism with a simple scorecard
Use this quick table to critique results and iterate. Score each item 1 (poor) to 5 (excellent).
| Criterion | What to look for | Score (1–5) |
|---|---|---|
| Fit realism | Seams, sleeves, and hem follow body correctly | |
| Lighting match | Shadows and highlights make sense | |
| Texture fidelity | Fabric weave and pattern clarity preserved | |
| Body continuity | No missing fingers, hair, or neck artifacts | |
| Color accuracy | Garment hue matches real item | |
| Layer realism | Occlusions (arms, hair, accessories) look natural |
Advanced tips for power users
- Shoot multi-angle sets: Front, 3/4, and side views let you build lookbooks and avoid single-angle bias.
- Use consistent anchors: In overlays, always align the center front, shoulder points, and hemline first. This reduces compounding errors.
- Fabric-aware adjustments: Stiff fabrics (denim, suiting) need less warp than drapey fabrics (silk, jersey). Over-warping stiff items breaks realism.
- Pattern integrity: Keep stripes and checks straight; allow minor edge mismatch if it preserves pattern geometry.
- Batch workflow: Prepare a reusable body photo library (neutral, hands-on-hips, walking pose) to quickly test different garments.
- Colorways and duplicates: Once a garment aligns well, duplicate the layer and switch color using HSL or a selective color tool for quick palette tests.
Mini FAQ
Can I try on clothes from retailer photos?
Yes—if the photos are front-on, well lit, and high resolution. Remove the background, then warp the garment to your body photo. Check usage rights before publishing.
Do I need back views?
Not for a front-view try-on. For full lookbooks or 3D impressions, capture back photos and create a second try-on per angle.
What about accessories like hats and bags?
Hats and glasses are sensitive to perspective; shoot them at the same angle as your head photo. Bags are easier; align straps with shoulder or hand positions and add a shadow on the body.
Will this reflect true sizing?
It’s a visual approximation. Use a reference object and known measurements to keep scale consistent, but final fit depends on fabric and construction.
Can I use mirror selfies?
Yes, but watch for perspective distortion and mixed lighting. Stand centered, step back to reduce wide-angle distortion, and keep the mirror clean for better edges.
Putting it all together
To effectively try on clothes from photos, treat the process like a mini photo shoot: capture clean body and garment images, prepare them with small but meaningful edits, choose the method that suits your goal (speed vs realism), and evaluate results with a simple scorecard. With a bit of practice, you’ll make confident outfit decisions, reduce returns, and build a personal lookbook that reflects how pieces actually work together. If you prefer an iPhone-native workflow that streamlines capture, cataloging, and realistic AI try-ons, consider exploring Outfit Maker for an all-in-one experience.
