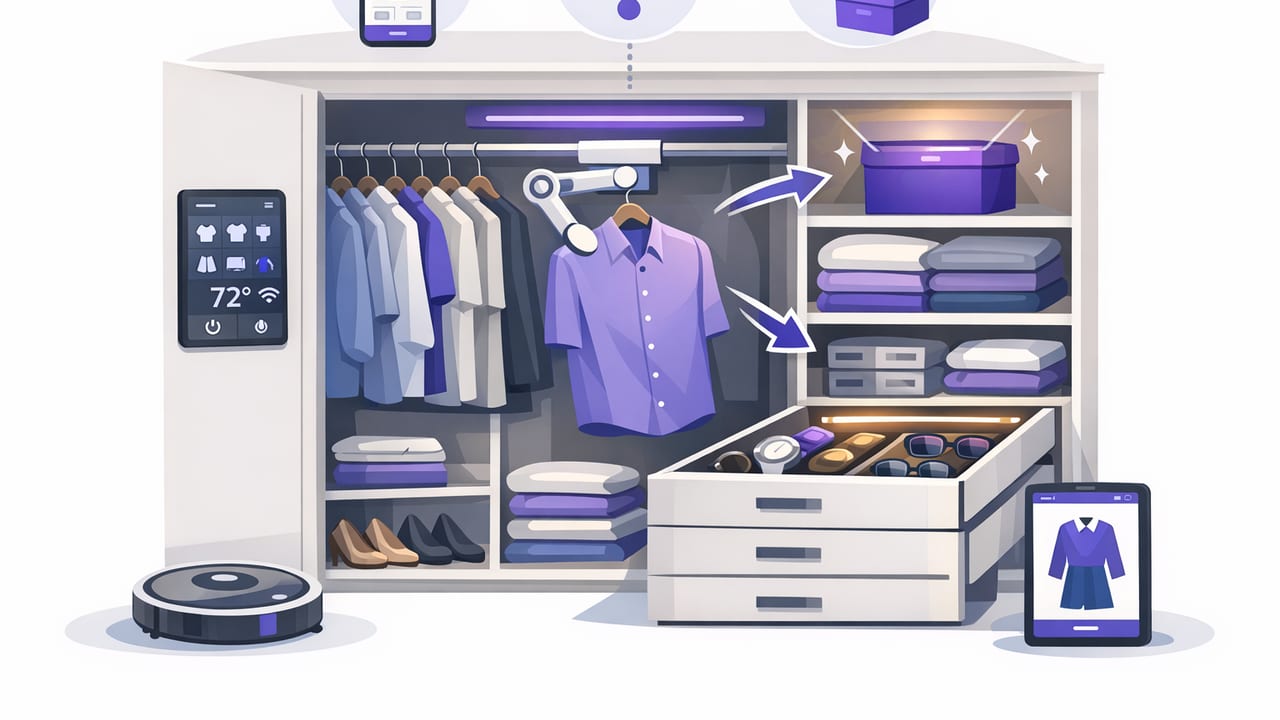
A smart closet organizer is only as helpful as the information you feed it. If your wardrobe photos are inconsistent, your categories are messy, or you can’t filter by occasion, the “smart” part becomes guesswork. The good news: once you set up your digital wardrobe with a clear system, it becomes a powerful decision tool—helping you plan outfits quickly, see what you actually wear, and avoid duplicate purchases.
This guide walks you through a practical, repeatable setup: how to photograph clothing, what details (tags) to capture, and how to create simple outfit rules that make outfit planning feel automatic.
Why a smart closet organizer works (and why it sometimes doesn’t)
Digital closet tools can reduce morning stress because they replace “searching” with “filtering.” Instead of staring at a closet and hoping inspiration appears, you can filter by weather, dress code, color, or silhouette and instantly see viable combinations.
Most people get stuck for three reasons:
- Poor item photos (hard to tell color/fit, backgrounds are distracting)
- Inconsistent naming (e.g., “blue top,” “navy shirt,” “tee??”)
- No usable metadata (no season, occasion, fabric, or care info)
Fix those, and your smart closet organizer becomes a real wardrobe planner rather than a photo album.
Step 1: Decide your closet scope (so you don’t burn out)
Start with one of these scopes, depending on your time:
- Quick start (30–60 min): tops + bottoms + shoes you wear weekly
- Practical core (2–4 hours): add outerwear, bags, everyday accessories
- Full wardrobe (multi-session): everything, including occasionwear
If you have a lot of items, plan a “closet capture weekend” but break it into categories (tops one day, bottoms another). Consistency matters more than speed.
Step 2: Photograph clothing so it’s easy to mix and match
High-quality photos are the foundation of a smart closet organizer. You don’t need a studio—just a repeatable method.
Two reliable photo methods
- Flat lay: Place the item on a clean surface. Great for tops, knitwear, accessories.
- Hanger-on-wall: Hang on a plain wall/door. Great for dresses, jackets, trousers.
Lighting and background rules (simple but important)
- Use bright indirect daylight near a window (avoid harsh sun that changes color).
- Choose one neutral background (white wall, light wood floor, plain sheet).
- Turn on your phone’s grid and keep items centered to reduce crooked shots.
- Capture true color: if it’s navy, don’t let it photograph as black—adjust exposure slightly.
What angles to capture
For most items, one photo is enough. Add a second if the item has key details that affect styling (pattern scale, neckline, length, hardware).
- Front view (primary)
- Detail shot (optional): fabric texture, print, neckline, heel height, etc.
Rule of thumb: If you’d hesitate to buy it online based on your photo, retake the photo.
Step 3: Create a tagging system you’ll actually use
Tags are how a smart closet organizer becomes searchable. The best tag set is small enough to maintain, but rich enough to answer your daily questions: “What works for the office?” “What can I wear in rain?” “What matches these boots?”
Use this core tag set (covers most needs)
| Tag Category | Examples | Why it matters |
|---|---|---|
| Type | tee, blouse, jeans, blazer, sneaker | Baseline filtering |
| Color | black, navy, cream, olive, burgundy | Fast coordination |
| Season/Weather | hot, mild, cold, rain-friendly | Outfit relevance |
| Occasion | casual, office, formal, gym, travel | Prevents “nothing to wear” moments |
| Fit/Silhouette | oversized, slim, cropped, wide-leg | Helps balance proportions |
| Fabric/Care | cotton, wool, linen, dry clean | Comfort + laundry planning |
| Footwear compatibility | works-with sneakers, works-with heels | Quick outfit building |
Keep tag vocabulary consistent
Pick one label per concept and stick to it. For example, choose “office” (not office/work/workwear) and “rain-friendly” (not wet weather/rain/rainy day). Consistency is what makes filtering effective.
A practical naming convention (optional, but powerful)
If your closet tool allows item titles, use a standard format so items are readable at a glance:
[Color] [Type] – [Key detail] ([Brand/Material])
Navy Blazer – single button (wool)
Cream Knit – crewneck (cotton)
Black Boots – ankle, low heel (leather)
Step 4: Add “outfit rules” that speed up decisions
Outfit rules aren’t about limiting style—they reduce decision fatigue. The goal is to define a few formulas that reliably work for your life and body preferences. Once set, your smart closet organizer can help you plug in pieces and generate combinations.
Start with 5 outfit formulas
- Office formula: top + structured layer + tailored bottom + closed-toe shoe
- Casual formula: relaxed top + denim + sneaker/flat + optional jacket
- Elevated casual: knit or blouse + dark bottom + boot/loafer + accessories
- Warm weather: breathable top + skirt/short + sandal + sun layer
- Cold weather: base layer + warm mid + coat + weather-ready shoe
Build “compatibility rules” with tags
Compatibility rules are simple pairings you can encode with tags. Example:
- Wide-leg trousers → pairs best with fitted or cropped tops
- Oversized shirt → pairs best with slim bottoms
- Statement print → pairs best with solid colors from your palette
When you tag items with wide-leg, cropped, statement print, and so on, filtering becomes a styling assistant rather than a randomizer.
Step 5: Create a personal color palette (so everything mixes)
If your closet feels like it doesn’t “go together,” it usually isn’t about taste—it’s about palette. A simple palette makes a smart closet organizer dramatically more useful because it increases the number of wearable combinations.
An easy palette framework
- 2 neutrals: e.g., black + cream, navy + gray, brown + ivory
- 2 supporting colors: e.g., olive + burgundy (or cobalt + camel)
- 1 accent: a color/pattern you love but don’t need everywhere
Then tag each item with its palette role: neutral, supporting, or accent. When planning outfits, aim for: 1 neutral base + 1 neutral/supporting + optional accent.
Step 6: Track “wear frequency” to find gaps and duplicates
The hidden superpower of a smart closet organizer is feedback. Once you can see outfits and items together, you can spot:
- Overbuying: five similar black tops, but only one is worn
- Orphan pieces: a skirt with no compatible shoes or layers
- True gaps: you lack a warm layer that works with your core bottoms
Use a simple monthly review:
- List your 10 most worn items and identify why they work (fit, comfort, versatility).
- Identify 5 least worn items and label the barrier (itchy, wrong size, hard to style).
- Make one action: tailor, donate, or create two outfits for a neglected piece.
Step 7: Plan outfits by scenario (not by “aesthetic”)
Many wardrobes fail because they’re built around vibes (“I want to dress like X”) instead of real schedules. Organize outfits around scenarios you actually repeat:
- Office days
- Errands + walking
- Social dinners
- Travel days
- Rainy/very hot/very cold days
For each scenario, aim to save 3–7 complete outfits. This creates a reusable “outfit library” that prevents last-minute scrambling.
Common setup mistakes (and quick fixes)
Mistake: You catalog everything before you learn your system
Fix: Start with 30–50 core items. Refine tags, then scale up.
Mistake: Too many tags
Fix: If you never filter by a tag, delete it. Keep a lean “core” set and an optional set for power users.
Mistake: Photos don’t match reality
Fix: Retake in consistent lighting. Accurate color is essential for mixing outfits confidently.
Mistake: Your organizer doesn’t reflect laundry reality
Fix: Tag items that are high-maintenance (wrinkles easily, dry clean). Your weekday planner will thank you.
A simple checklist to finish your setup
- Choose your scope (quick start, core, full wardrobe)
- Photograph with consistent background + lighting
- Apply core tags (type, color, season, occasion, silhouette)
- Standardize naming conventions (optional)
- Create 5 outfit formulas and save 3–7 outfits per scenario
- Review wear frequency monthly and adjust
Final thought: make “smart” mean frictionless
The goal of a smart closet organizer isn’t perfection—it’s speed and confidence. If your system helps you find outfits in under a minute, it’s working. Start small, keep tags consistent, and let your outfit library grow naturally as you learn what you love wearing.
If you want to try this workflow on iOS with virtual outfit planning, an app like Outfit Maker can support photo-based cataloging and outfit experimentation once your tags and photos are in good shape.
