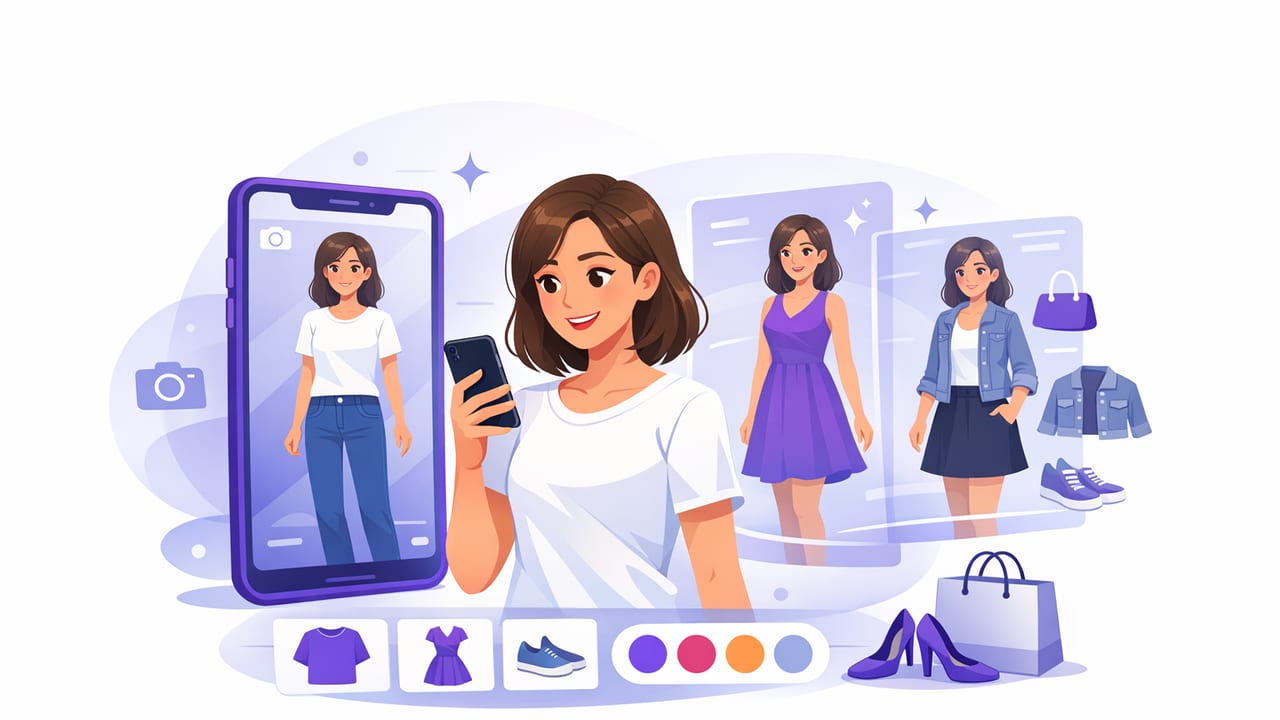
A virtual try on clothes app can be a game-changer—if it fits your real life. Some apps are built for fun filters; others are built for wardrobe planning, shopping decisions, and daily outfit confidence. The difference comes down to how the app handles your clothing library, your photos, and the realism of the “try-on” result.
This guide breaks down the features that matter, how to set up your digital wardrobe for accurate virtual try-ons, and practical habits that make the tool useful beyond the first week.
What “virtual try-on” really means (and why apps feel so different)
Virtual try-on can describe a few different technologies and workflows. Knowing which one you’re using helps you set expectations and choose the right app.
- Overlay / cutout try-on: clothing images are placed on top of a body photo. It’s quick, but realism depends on clean cutouts and consistent poses.
- AI-generated try-on: AI predicts how garments drape and align on your body photo. Usually more realistic, but requires better input photos and can struggle with complex patterns or shiny fabrics.
- Outfit planning (no try-on rendering): the app helps you combine items from a digital wardrobe and plan outfits using item photos. It’s great for organization, even if it doesn’t “wear” the clothes on you.
Many apps blend these approaches. The best choice depends on your goal: daily outfits from your own closet, shopping decisions, travel packing, or all of the above.
Checklist: what to look for in a virtual try on clothes app
Use this as a practical evaluation list before you commit time uploading your wardrobe.
1) Realism and consistency
- Body alignment: does the garment sit correctly at shoulders/waist/hips across different poses?
- Fabric behavior: does it look like fabric, not a sticker (especially around sleeves and hems)?
- Repeatability: do you get similar results with similar inputs, or does it vary widely?
2) Digital wardrobe depth (the “planner” part)
- Item categories and tags: tops, bottoms, shoes, outerwear, occasion, season, dress code, color, fit, brand.
- Outfit saving and calendar: can you save looks, plan a week, and avoid repeats?
- Search and filters: the difference between a fun tool and a daily tool is often search.
3) Input flexibility
- Add from camera roll: upload your own garment photos and full-body photos.
- Background handling: can it remove backgrounds or work with plain-wall photos?
- Multiple angles: optional, but helpful for shoes, outerwear, and bags.
4) Privacy and control
- Clear data settings: the app should explain what it stores and how to delete it.
- Sharing controls: if you share outfits with friends, can you control what’s public vs private?
5) Workflow speed
- Fast item capture: bulk import, quick tagging, or smart auto-categorization.
- Low friction try-on: fewer steps between “idea” and “outfit preview.”
Setup matters more than the algorithm: a proven input routine
Most disappointing try-on results come from messy inputs: inconsistent lighting, cropped photos, wrinkled garments, and hard-to-separate backgrounds. A simple routine makes a big difference.
Step 1: Take one “base photo” you’ll reuse
Pick a single, flattering full-body photo for try-ons and outfit comparisons.
- Stand 6–8 feet from the camera, lens roughly at waist or chest height (to reduce distortion).
- Use a plain background and even daylight (near a window, not direct sun).
- Wear fitted, neutral clothing (or a simple base layer) so edges are clear.
- Use the same pose each time—arms slightly away from the body helps.
Tip: Consistency beats perfection. One repeatable base photo usually outperforms ten inconsistent photos.
Step 2: Photograph garments like a product catalog
- Lay flat or hang garments against a contrasting background.
- Smooth wrinkles and close buttons/zippers so the silhouette is accurate.
- Capture the full shape: include sleeves, hems, and waistbands.
- Shoot shoes from a consistent angle (e.g., 45°) for easier comparison.
Step 3: Tag only what you’ll actually filter by
Over-tagging kills momentum. Start with a minimal system you’ll use daily, then expand.
- Occasion: work, casual, event, gym
- Season: warm, transitional, cold
- Color family: neutrals, earth tones, brights
- Warmth level: light, medium, heavy
- Fit notes: oversized, fitted, cropped, longline
How to evaluate realism: quick tests before you commit
If you’re comparing apps, run a small “trial wardrobe” (10–15 items) and test these scenarios:
- High-contrast outfit: black top + light pants. Check edge quality and waist alignment.
- Layering test: tee + jacket. Does the jacket sit naturally, or float?
- Pattern test: stripes or checks. Does the pattern warp unnaturally?
- Shoe test: do shoes anchor to the floor, or look pasted on?
Save side-by-side results. The best virtual try on clothes app for you is the one that stays consistent across these basics.
Feature comparison table: planner vs try-on vs hybrid
| App Style | Best For | Strengths | Common Limitations |
|---|---|---|---|
| Try-on focused | Seeing “how it looks on me” quickly | Visual confidence, fewer returns | Less wardrobe organization, weak tagging |
| Digital wardrobe planner | Using what you already own | Outfit building, calendar planning, packing lists | No realistic drape simulation |
| Hybrid (try-on + planner) | Daily outfits + realistic previews | Best long-term utility, “shop your closet” | Setup takes longer; quality depends on inputs |
A simple weekly workflow that makes virtual try-on stick
Even the best tool fails if you only open it when you’re already late. This low-effort routine keeps your wardrobe current and your outfits ready.
- 10 minutes on Sunday: plan 3–5 outfits for your real schedule (weather + meetings + social plans).
- Midweek refresh: swap one outfit if weather changes; reuse a base (same pants, new top).
- After laundry: add 1–3 new items or update photos if something fits differently.
- Monthly review: mark items you didn’t wear; create a “style experiment” outfit to test them.
Organizing your closet data (optional, but powerful)
If you like structure, you can keep a lightweight inventory outside the app (in Notes, Sheets, or iCloud Drive). This helps you avoid duplicates, track gaps, and plan capsules.
Here’s an example of a minimal wardrobe item schema you could store as JSON:
{
  "id": "top-037",
  "name": "White Oxford Shirt",
  "category": "top",
  "color": ["white"],
  "season": ["transitional", "warm"],
  "occasion": ["work", "event"],
  "fit": "regular",
  "layering": "base",
  "notes": "Best tucked; slightly sheer in bright sun"
}
This isn’t required, but it shows what makes a digital wardrobe searchable: a few consistent fields that reflect how you actually get dressed.
Common pitfalls (and how to fix them fast)
Your try-on looks “off” at the shoulders or waist
- Retake the base photo with arms slightly away from your torso.
- Use garments photographed front-on (not angled) with full hems visible.
- Avoid bulky background clutter that confuses edge detection.
Colors don’t match real life
- Photograph clothes in daylight and avoid mixed indoor lighting.
- Edit photos lightly for exposure consistency (not heavy filters).
- Add a note tag like “reads warmer in person” for tricky items.
Outfit planning feels overwhelming
- Start with one capsule: 5 tops, 3 bottoms, 2 shoes, 1 jacket.
- Use rules like “one statement piece per outfit” or “two neutrals + one color.”
- Save templates (e.g., “work formula”) and swap only one item at a time.
How to know you’ve chosen the right app
A good virtual try on clothes app should reduce decision fatigue and increase outfit confidence. You’ll know it’s working when:
- You can build an outfit in under 60 seconds using filters and saved combos.
- You stop buying “almost right” items because you can preview pairings first.
- You wear more of your wardrobe because you can see options quickly.
Final thoughts
Virtual try-on is most useful when it’s connected to a searchable digital wardrobe and a repeatable routine. Focus on consistent photos, minimal tagging you’ll actually use, and small weekly planning habits. If you want an iOS option that combines AI outfit generation, wardrobe planning, and virtual try-on-style previews, Outfit Maker is one example worth exploring.
