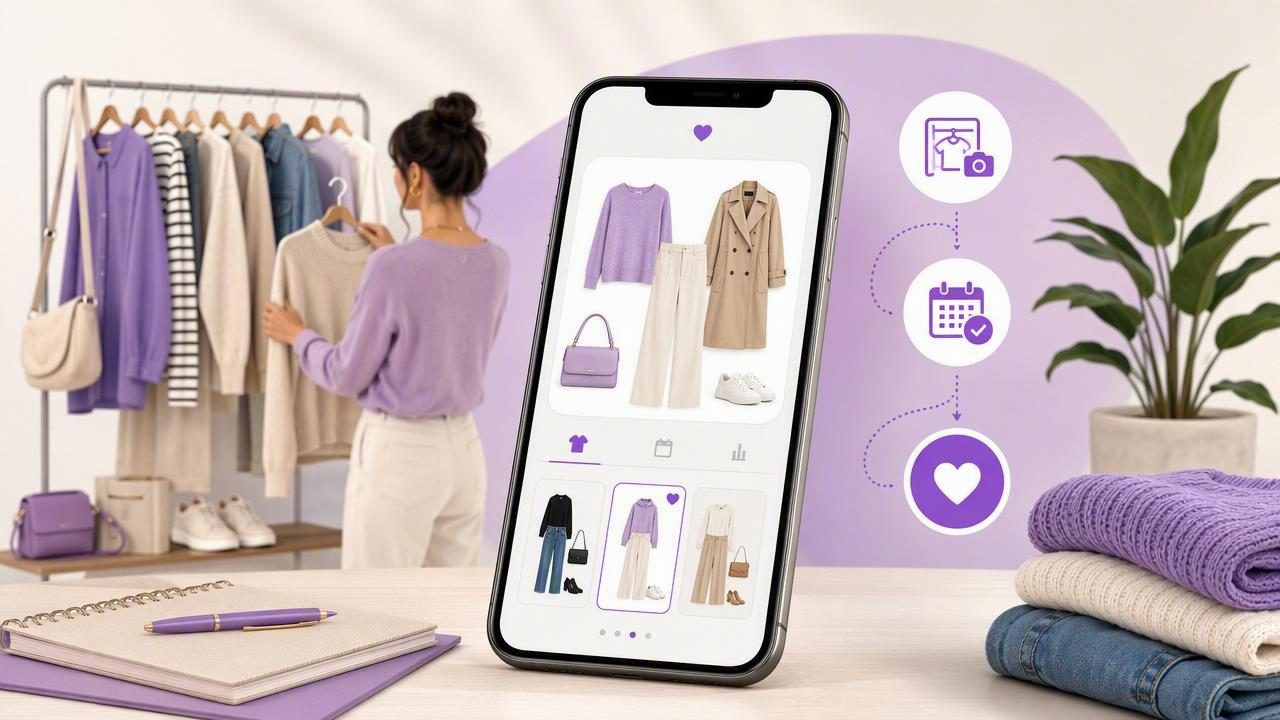
An outfit planning app for iOS can do more than store photos of clothes. Used well, it becomes a practical decision system: you see what you own, build outfits that actually work together, and plan for weather, dress codes, and your real schedule—without pulling half your closet onto the bed.
This guide breaks down what features matter most, how to set up your digital wardrobe quickly, and a daily workflow that turns “What should I wear?” into a two-minute task.
What an iOS outfit planning app should help you do
Before comparing features, define the outcomes you want. Most people are trying to solve one (or more) of these:
- Save time on weekday mornings.
- Use more of your wardrobe (less repeat-wearing the same safe items).
- Avoid bad combinations (color clashes, proportions, or “why does this feel off?” moments).
- Pack smarter for trips and events.
- Buy less, buy better by seeing true wardrobe gaps.
The best outfit planning app for iOS supports these outcomes with a fast setup, realistic visuals, and simple organization—without becoming a second job.
Must-have features (and what they actually mean in daily use)
1) Digital wardrobe capture that’s quick, not perfect
You want an app that makes it easy to add items via photo, background removal, and basic editing. A common mistake is waiting for “studio-quality” images. A usable closet beats a beautiful closet you never finish.
2) Smart closet organization (tags that match your life)
Tags should be easy to add and easy to filter. The most useful tag categories are:
- Category: tee, blouse, trousers, jeans, blazer, sneakers, boots
- Color: navy, cream, olive (avoid too many near-duplicates)
- Season: warm, cool, all-season
- Formality: casual, smart-casual, business, formal
- Fit notes: cropped, oversized, high-rise
- Care/comfort: itchy, breathable, needs steaming
3) Outfit building that supports “formulas”
Look for outfit creation that makes it easy to save repeatable combinations, not just random collages. Outfit formulas are patterns like:
- Wide-leg trouser + fitted top + structured layer
- Midi skirt + knit + ankle boots
- Dark denim + white top + statement jacket
4) Virtual try-on or realistic previews
If an app includes virtual try-on (or realistic compositing), it helps you judge proportion and color balance faster than imagination alone. This is especially useful for layering, shoes + outerwear, and outfits that feel “almost right.”
5) Planning tools: calendar, packing lists, and weather cues
The best planning experience connects outfits to real moments—meetings, dinners, travel days. Even simple features like “set aside for Monday” can eliminate morning decision fatigue.
6) Sharing and feedback (optional, but powerful)
Some people decide faster with a second opinion. If you like feedback, sharing options can help you compare two outfits and move on.
A simple setup that takes one hour (and still works)
You don’t need to digitize everything at once. Start with a “high-impact closet”—the items you actually wear.
Step 1: Capture your top 30–50 items
- Pick your most-used tops, bottoms, shoes, and one or two outerwear pieces.
- Photograph in consistent lighting (window light is great).
- Use a plain background when possible; don’t overthink it.
Rule of thumb: if you can recognize the item instantly and the color looks accurate, it’s good enough for planning.
Step 2: Add only five core tags
Over-tagging is the #1 reason people abandon a digital wardrobe. Start with:
- Category
- Color
- Season
- Formality
- “Go-to” (yes/no)
Step 3: Build 10 “default” outfits
Create outfits you would wear tomorrow—no fantasy styling. Include at least:
- 3 work-appropriate looks
- 3 casual looks
- 2 dressier looks
- 2 weather-specific looks (hot day / cold day)
The daily workflow: plan outfits in under 5 minutes
Night-before planning (2 minutes)
- Check tomorrow’s schedule (meetings, errands, dinner).
- Check weather highs/lows and rain/wind.
- Filter your wardrobe by formality + season.
- Pick from saved outfit formulas, then adjust one element (shoe, layer, accessory).
Morning execution (1–3 minutes)
- Open your chosen outfit.
- Confirm comfort details: walking shoes, fabric feel, temperature.
- Commit—avoid reopening the whole closet unless something is truly wrong.
How to use virtual try-on for better decisions (not endless tweaking)
Virtual try-on is most useful when you apply it to specific questions. Try this sequence:
- Proportion check: does the silhouette balance? (e.g., oversized top + wide-leg bottom often needs one fitted element.)
- Color check: do the tones harmonize? (warm cream vs cool white matters.)
- Layer check: does the jacket length fight the hemline?
- Shoe check: does the shoe style match the formality and the pant hem?
If you find yourself endlessly swapping items, switch to a constraint: “Only change one piece.” That keeps virtual try-on from becoming a rabbit hole.
Manual planning vs. an iOS outfit planning app: what changes?
| Task | Manual approach | With an outfit planning app for iOS |
|---|---|---|
| Remembering what you own | Relies on memory; items get forgotten | Searchable digital wardrobe; less duplicate buying |
| Testing combinations | Try on physically; time-consuming | Build outfits and preview quickly; save winners |
| Planning for events/travel | Packing piles; last-minute stress | Outfit list per day; track re-wear and versatility |
| Identifying wardrobe gaps | Vague “I need new clothes” feeling | See missing connectors (shoes, layers, basics) |
Tagging system template (copy and adapt)
If your app supports custom tags, keep them consistent. Here’s a simple structure you can mirror:
{
  "category": ["top", "bottom", "layer", "shoe"],
  "color": ["black", "navy", "white", "cream", "olive", "denim"],
  "season": ["warm", "cool", "all"],
  "formality": ["casual", "smart-casual", "business", "formal"],
  "fit": ["fitted", "regular", "oversized", "cropped"],
  "notes": ["needs-steam", "walkable", "itchy", "stains-easy"]
}
Pro tip: if you can’t imagine filtering by a tag later, don’t create it.
Outfit formulas that work in most wardrobes
Use these as starting points in any outfit planning app for iOS. Save 2–3 versions of each with different shoes/layers.
Formula A: “Polished but easy”
- Straight-leg trousers
- Simple knit or tee
- Blazer or structured jacket
- Loafers/sleek sneakers
Formula B: “Weekend capsule”
- Dark denim
- Neutral top
- Statement layer (coat, overshirt, leather jacket)
- Comfort shoes
Formula C: “Dress + anchor”
- Midi dress
- Denim jacket, cardigan, or trench
- Boots or minimal sneakers
Common mistakes (and how to avoid them)
- Trying to digitize 100% of your closet first: start with what you wear weekly, then add 5 items per day.
- Saving outfits you don’t actually wear: if it’s not comfortable or practical, it doesn’t belong in your “go-to” library.
- Ignoring underwear/shoe reality: an outfit that needs special undergarments or painful shoes should be labeled clearly.
- No review loop: once a week, remove outfits you didn’t choose and note why (fit, weather, formality, comfort).
Privacy and photo best practices
Because wardrobe apps involve personal photos, use these safeguards:
- Prefer apps with clear permissions and privacy settings.
- Avoid uploading sensitive background details (mail, family photos) in item shots.
- Consider photographing clothing items separately from full-body images if you want maximum privacy.
How to know you picked the right app
After two weeks, a good outfit planning app for iOS should produce measurable benefits:
- You can plan a weekday outfit in under 5 minutes.
- You rotate through more items (fewer “forgotten” pieces).
- You make fewer panic purchases because you can see what works with what you already own.
If you want an iOS option that combines a digital wardrobe, AI-assisted outfit generation, and virtual try-on in one workflow, you can explore apps like Outfit Maker and apply the setup steps above to keep your system simple and sustainable.
