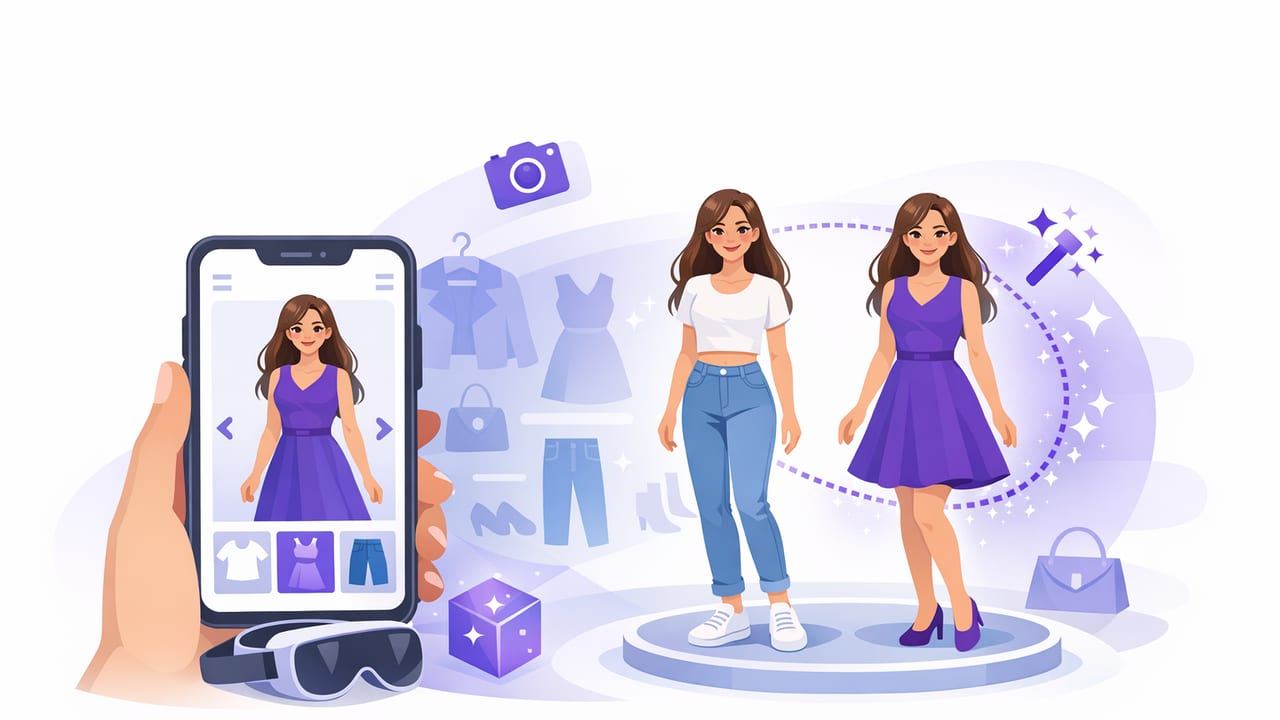
Searching for a virtual outfit try on app can feel overwhelming: some apps focus on realistic previews, others on closet organization, and many claim “AI styling” without explaining what that actually means. The best choice depends on your goal—saving time in the morning, reducing impulse buys, building a work-week rotation, or planning outfits for events without pulling half your wardrobe onto the floor.
This guide breaks down what matters most when evaluating a virtual try-on experience, how the technology works (in plain English), and a practical workflow you can follow to get consistently useful results.
What a virtual outfit try on app should help you do
A good app does more than paste clothing onto a photo. It should support decision-making: What looks best on me, with what I already own, for this specific occasion? In practice, that usually means combining three capabilities:
- Virtual try-on: previewing outfits on your photo or avatar to compare combinations quickly.
- Digital wardrobe: storing items with photos so you can “shop your closet” first.
- Outfit planning: building and saving looks for days, trips, seasons, and events.
If an app nails only one of these, it can still be useful—but the real time savings appear when all three are connected.
How AI virtual try-on works (and why results vary)
Most virtual try-on tools use a mix of image processing and machine learning to estimate how garments should sit on the body. The app typically tries to:
- Detect body and pose (where shoulders, waist, hips, etc. are in the photo).
- Segment clothing (separate a jacket from the background, for example).
- Warp and render the clothing onto your photo with approximate drape, layering, and lighting.
Results vary because of lighting, camera angle, garment shape (structured blazers are harder than tees), and the quality of clothing photos you upload. You’ll get the best realism when your inputs are consistent and clean—more on that below.
Feature checklist: what to look for before you commit
Use this checklist to compare options quickly. You don’t need every feature, but you should know which ones matter to your lifestyle.
1) Try-on realism and layering controls
- Layer support (top + outerwear + bottoms) and believable overlap.
- Fit adjustment (tuck/untuck, sleeve length, rise) or at least consistent sizing cues.
- Side-by-side comparison to choose between outfits faster.
2) A true digital wardrobe (not just outfit collages)
- Fast item capture: upload from camera roll, screenshots, or product photos.
- Categories: tops, bottoms, shoes, outerwear, accessories, bags.
- Search + filters: color, season, occasion, material, brand, dress code.
- Duplicate detection or easy cleanup—your closet database gets messy fast without it.
3) Outfit planning that matches real life
- Calendar or planning board to map outfits to days and events.
- Packing lists for travel with outfit-to-item breakdown.
- Re-wear tracking (helpful if you’re building a capsule or trying to reduce shopping).
4) Privacy and data control
- Clear photo storage policy: Are photos processed on-device or on a server?
- Deletion controls: Can you permanently delete images and wardrobe data easily?
- Export: If you ever switch apps, can you take your wardrobe with you?
Quick comparison table (use this when evaluating apps)
| Capability | Why it matters | What “good” looks like |
|---|---|---|
| Try-on accuracy | Helps you trust the preview enough to decide | Consistent proportions, believable layering, minimal artifacts |
| Wardrobe catalog | Prevents re-buying and speeds up outfit building | Fast upload, tags, filters, and batch edits |
| Outfit comparison | Makes decisions faster than mental visualization | 2–4 looks side-by-side with easy swap of one item |
| Occasion planning | Aligns outfits with dress codes and weather | Occasion tags + notes + calendar or saved boards |
| Sharing/feedback | Useful for events, travel, and uncertainty | Share a look set, get votes/comments, keep privacy controls |
| Privacy controls | Photos are sensitive data | Transparent policy + deletion + optional local-only mode |
A practical workflow that makes any virtual try-on more accurate
Even the best virtual outfit try on app can look “off” if inputs are inconsistent. This workflow improves realism and saves time long-term.
Step 1: Create two photo sets—“You” photos and “Item” photos
You photos should be consistent: similar pose, lighting, and camera distance. Many people find 2–3 standard poses enough (front, slight angle, and seated if you plan office outfits).
Item photos should be as clean as possible (flat lay on a plain background, hanger against a wall, or product shots). Avoid heavy shadows and wrinkled garments if you can.
Step 2: Standardize lighting (it matters more than you think)
- Use bright, even daylight or a well-lit room.
- Avoid mixed lighting (window + warm lamp), which can distort colors.
- Keep the camera at chest height to reduce distortion.
Styling rule of thumb: if you can’t clearly see the garment edges in the photo, the app can’t either.
Step 3: Tag items like a stylist (not like a spreadsheet)
Over-tagging is as unhelpful as under-tagging. Stick to tags that directly influence outfit decisions:
- Color family (navy, cream, olive) rather than every micro-shade.
- Silhouette (wide-leg, straight, cropped, oversized).
- Formality (casual, smart casual, business, formal).
- Season/temperature (hot, mild, cold) instead of just “summer/winter.”
- Shoe compatibility (works with sneakers, works with heels, etc.).
Optional: a simple tagging template you can copy
If your app supports notes or structured fields, this lightweight schema keeps your digital wardrobe consistent:
{
  "item_name": "Black ankle boots",
  "category": "shoes",
  "color_family": ["black"],
  "silhouette": ["ankle", "sleek"],
  "formality": "smart casual",
  "season": ["mild", "cold"],
  "pairing_notes": [
    "best with straight-leg jeans",
    "balances oversized knit",
    "avoid with midi skirt unless tights"
  ]
}
Step 4: Build “outfit formulas” for repeatable wins
Outfit formulas are combinations you know work, then you rotate colors and textures. They’re the fastest way to make the app useful daily.
- Formula A: straight-leg jean + fitted top + structured jacket + sleek shoe
- Formula B: wide-leg trouser + simple knit + belt + loafer/sneaker
- Formula C: dress + outerwear layer + weather-appropriate shoe
In your virtual try-on, swap one variable at a time (only the shoe, only the jacket). This makes comparisons obvious and prevents the “too many options” spiral.
Common issues—and how to fix them
The outfit looks “floaty” or misaligned
- Use a clearer body photo (full torso, minimal background clutter).
- Try a second pose photo; some poses map better than others.
- Choose item photos with visible edges (sleeves, hemline, waistline).
Colors look different than real life
- Re-upload item photos in neutral lighting.
- Avoid filters and “enhanced” camera settings that shift warmth.
- Tag the item with a color family so you don’t over-index on exact shade.
Layering looks wrong (jackets swallowing tops, etc.)
- Try using product images for outerwear (clean outline helps).
- Start with two layers, then add accessories last.
- Prefer structured garments for try-on comparisons; drapey fabrics can be harder to render.
How to use virtual try-on to shop smarter (and buy less)
A virtual outfit try on app is especially powerful before you purchase something new. Instead of asking “Do I like it?”, ask “Does it complete at least three outfits I already wear?”
- Pick one gap (e.g., “work-friendly shoe for rainy days”).
- Try-on with your existing staples (your most-worn trousers, jeans, coat).
- Score it honestly: if it only works with one outfit, it’s probably not a staple.
This approach reduces closet clutter and helps your wardrobe feel more cohesive over time.
Mini FAQ: quick answers people actually need
Do I need perfect photos for virtual try-on?
No—but consistent, well-lit photos dramatically improve results. Think “good enough and repeatable,” not studio-quality.
Will a virtual try-on app tell me what’s flattering?
It can help you see proportions and compare options quickly, but “flattering” still depends on comfort, context, and your preferences. Use the app to test silhouettes (cropped vs. longline, wide-leg vs. tapered) and choose what feels right.
What’s the biggest mistake people make with digital wardrobes?
Uploading everything at once without a tagging system. Start with your top 20–30 most-worn items, build a few formulas, then expand gradually.
Putting it all together
The best virtual try-on experience comes from a balance of realistic previews, a searchable digital wardrobe, and a workflow that mirrors your real decisions: weather, occasions, comfort, and repeatable outfit formulas. If you evaluate apps using the checklist above and standardize your photos, you’ll get faster mornings, fewer “nothing to wear” moments, and smarter shopping decisions.
If you’re on iOS and want a tool that combines virtual try-on with wardrobe planning, you can explore options like Outfit Maker and apply the workflow in this guide to get more accurate, consistent outfit previews.
