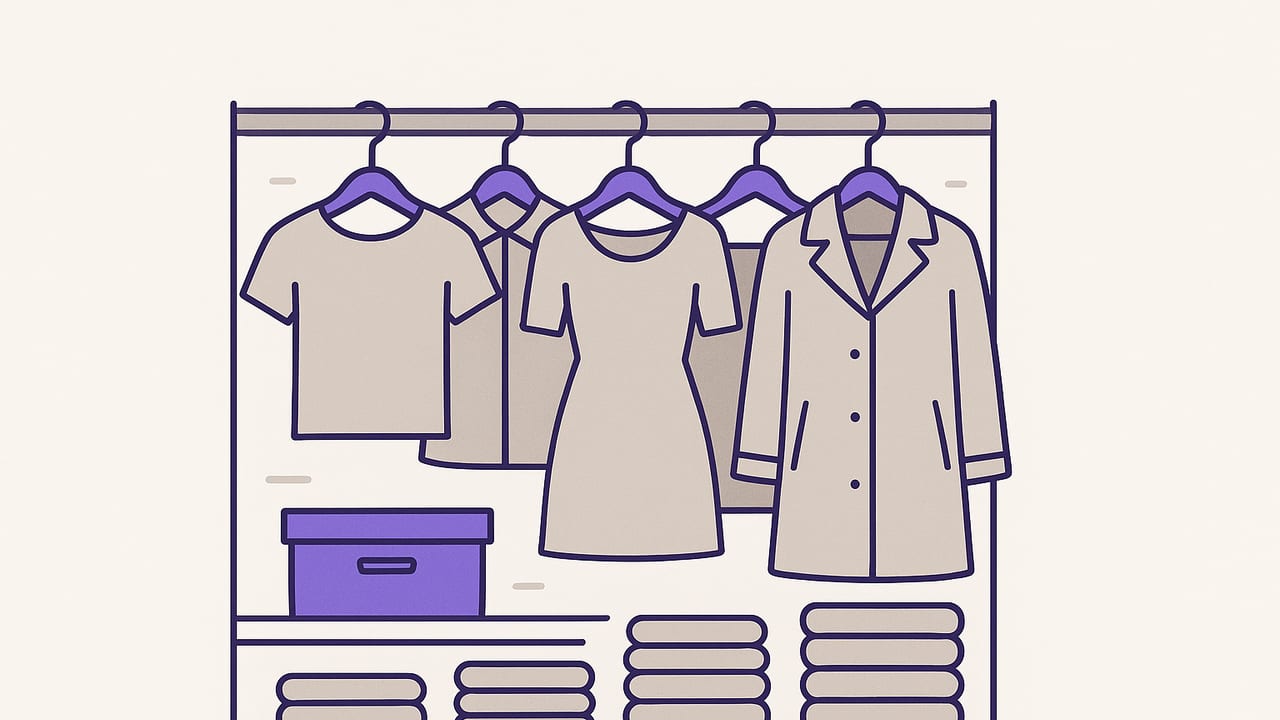
If you’ve ever wondered how to actually organize clothes closet space so it stays neat longer than a week, you’re in the right place. This guide gives you a practical, repeatable method used by professional organizers, adapted to real homes, tiny apartments, and overflowing wardrobes. The goal is simple: find any item in 10 seconds, put it away in 5, and maintain the system in under 10 minutes a week.
Start With Outcomes, Not Objects
Before you buy a single bin, define three constraints and one outcome.
- Space reality: Measure hanging width, shelf depth, and floor clearance. Note door swing and any tight corners.
- Lifestyle split: How you actually dress: work vs. casual vs. activewear vs. events. Estimate percentages.
- Climate and laundry cadence: Seasonal needs and how often you wash. This drives backstock and duplicates.
- Outcome: “I can get dressed in 5 minutes without piles.” Keep this as your north star.
Use the 80/20 wardrobe ratio: most people wear 20% of their closet 80% of the time. Organize to favor the 20% without banishing the rest.
How to actually organize your clothes closet: the quick summary
- Empty and sort fast using four bins.
- Design zones based on frequency and visibility.
- Use the right hangers, dividers, and labels.
- Apply category rules (what to hang vs. fold).
- Set a laundry-to-closet pipeline you’ll actually follow.
- Review weekly; rotate seasonally.
Step 1: A 2‑Hour Closet Sprint
Block two hours. Bring a timer, four boxes, a laundry bag, and a tailor bag.
- Empty by category: Pull out only tops first, then bottoms, dresses, outerwear, activewear, underwear/socks, accessories, shoes, and bags. Categorizing forces better decisions.
- Four-bin sort:
- Keep (fits, used in last season, good condition)
- Tailor (needs simple fixes: hems, buttons, waist nip)
- Donate/Sell (good quality, not your style or size)
- Seasonal (off-season items for deep storage)
- Reality fit test: Try on 3–5 borderline pieces. If it doesn’t fit your current body or life, it’s clutter.
- Condition check: Stains, pilling, missing parts? Fix or exit. Keep a mini care kit: fabric shaver, sweater comb, stain stick.
- Clean the closet: Vacuum, wipe shelves, add a cedar block or charcoal dehumidifier if needed.
Rule of thumb: Only keep what earns its hanger.
Step 2: Design Zones That Follow Your Habits
Zoning is the secret to long-term order. Place the highest-use items in the most reachable, visible spots. Use the table below as a blueprint.
| Zone | What Lives Here | Ideal Storage |
|---|---|---|
| Prime Real Estate (eye to chest height) | Everyday tops, pants, jeans, go-to dresses | Standard hangers, section dividers, color order |
| Secondary (above eye level) | Occasion wear, less-used jackets, duplicate bags | Garment bags, labeled bins |
| Deep Storage (high shelves/under-bed) | Off-season sweaters, coats, formalwear | Breathable zip bags, vacuum bags for synthetics |
| Dailies Tray or Basket | Belts, watches, sunglasses, lint roller | Shallow tray, small divider inserts |
| Laundry Intake Corner | Hamper + stain pre-treat pen | Dual-compartment hamper, hooks for air-dry |
| Outfit Prep Rail/Hook | Tomorrow’s outfit or trip pack | Over-door hook or short rail |
Within each hanging section, order by category → sleeve length → weight → color. This boosts visual scan speed and keeps similar hang types together.
Step 3: Use Tools That Matter (Skip the Gimmicks)
Most closets fail from mismatched hangers and container chaos. Here’s a minimalist toolkit.
- Matching hangers: One style for most clothes, plus a small set for specialty pieces.
- Shelf dividers: Keep sweaters and denim from slumping.
- Labeled bins: For scarves, hats, clutches, swim.
- Hooks: Inside doors for belts, bags, and hats.
- Lighting: Battery LED strips or motion pucks if the closet is dim.
| Hanger Type | Best For | Why |
|---|---|---|
| Velvet/slim | Blouses, tees, light knits | Non-slip, saves space |
| Wood/contoured | Coats, blazers, structured dresses | Maintains shoulder shape |
| Clip hangers | Skirts, trousers | Prevents creasing |
| Open-ended pants hanger | Trousers, scarves | Fast on/off, reduces wrinkles |
Consistency beats cleverness. A row of identical hangers instantly looks organized and functions smoother.
Step 4: Category Rules You’ll Actually Follow
Decide once, apply everywhere. Here’s a pragmatic hang-vs-fold guide.
- Hang: Blouses, button-downs, dresses, blazers, trousers, skirts, lightweight jackets.
- Fold: Sweaters (to avoid shoulder bumps), denim, tees, activewear, knit skirts, pajamas.
Use a file-fold in drawers or bins so you see every item at a glance. For shelves, stack no higher than 6–8 inches and use dividers to prevent toppling.
Micro-organization that speeds decisions
- Tops: Short sleeve → long sleeve → sweaters; within each, light-to-dark color order.
- Bottoms: Work trousers → jeans → casual pants → skirts; by fabric weight.
- Occasion wear: Store in breathable garment bags; tag with event type (wedding, black tie).
Step 5: Label Logic (Plain Language Wins)
Labels make your future self obey the system. Use clear, human words and a simple pattern. If you’re using bins or garment bags, try a short code on a corner tag.
Category_Color_Season_Size(optional)
Example: Tops_Neutrals_AllSeason_M
Example: Sweaters_Warm_Turtleneck_FallWinter
Tip: If you love tech, add a tiny QR code linking to an item list or photos. If not, a Sharpie and a card sleeve do the job just fine.
Step 6: Your Laundry-to-Closet Pipeline
Clutter often starts between the dryer and the hanger. Build a pipeline that breaks inertia:
- Sort on arrival: Laundry lands in a dual hamper: lights/darks or machine/delicates.
- Stage a folding zone: A clear bed or table. Keep a folding board if it helps speed.
- Group by destination: Folded stacks per drawer; hanging stack on the bed with hangers ready.
- One-touch rule: Each clean garment is handled once: straight from basket to final home.
- Air-dry plan: Use a behind-door rack and a dedicated set of 3–5 mesh hangers for delicates.
Pre-load 10–15 empty hangers at the front of each section so putting things away is frictionless.
Step 7: Shoes, Bags, and Accessories
These items make or break visual tidy.
- Shoes: Keep only current season on the primary rack, toe-out for flats/heels, heel-out for boots. Use clear drop-front boxes for specialty pairs.
- Bags: Stand upright with shelf dividers; stuff with a purse pillow or tissue. Hang backpacks/totes on sturdy hooks.
- Belts/jewelry: Narrow rail with S-hooks or a pegboard. Group by metal tone and frequency.
Step 8: Special Cases and Small Spaces
Tiny closets
- Use vertical add-ons: a second hanging bar, back-of-door rack, or slim rolling cart.
- Rotate off-season items completely out to under-bed storage.
- Choose slim hangers + a strict one-in-one-out policy.
Shared closets
- Divide by vertical column or by left/right. Duplicate a small set of shared tools (lint roller, brush).
- Use color-coded labels or different hanger colors per person.
Renters or no-drill rules
- Go for tension rods, over-door hooks, and freestanding garment racks.
- Command strips for light bins and labels.
Step 9: Keep Score With Simple Metrics
What gets measured gets maintained. Track these once a month:
- Time-to-find: Can you grab a black tee in 10 seconds? If not, rework the zone.
- Repeat-wear rate: If 5–7 items dominate your week, make sure they live in prime real estate.
- Hanger turnover: Flip hangers backward at the start of a season. When you wear an item, flip it forward. At season’s end, donate anything still backward (exceptions: formalwear, specialty gear).
- 30-day exit box: Keep a small bin for “maybes.” If you don’t retrieve an item in 30 days, let it go.
Troubleshooting: Common Roadblocks
“I don’t have time.”
Use micro-sprints: 15 minutes per category across a week. Day 1 tops, Day 2 bottoms, and so on. Finish with labels on Day 7.
“I’m indecisive.”
Set three criteria and stick to them: fit today, feels good, easy to outfit. If it misses two, it exits. Put borderline pieces in the 30-day box.
“My weight fluctuates.”
Keep one small bin labeled “Size Up” and one “Size Down.” Limit each to 10 items you truly love. Everything else should serve your current life.
“I love sentimental pieces.”
Memory items deserve respect, not hanger space. Store them in an archival box with a note and photo. Limit to one box per person.
Example Layouts You Can Copy
The 4‑foot reach-in closet
- Left 24 inches: Tops (velvet hangers), sorted by sleeve length.
- Right 24 inches: Bottoms on clip hangers; one open-ended pants hanger for trousers worn weekly.
- Upper shelf: 3 labeled bins (Sweaters, Seasonal, Bags).
- Door back: Hook rail for belts + outfit prep.
The small walk-in
- Main wall: Double rods; upper for work tops, lower for jeans/skirts.
- Side wall: Single rod for dresses and blazers with contoured hangers.
- Corner: 5-tier shoe tower, keeping current season only.
- Island shelf or top shelf: Divided bins for accessories.
Maintain It in Minutes
Set two recurring dates in your calendar:
- Weekly 10-minute reset: Return drifters, refill empty hangers at the front, empty the 30-day box if full, wipe the dailies tray.
- Seasonal switch (15–30 minutes): Move off-season to deep storage, surface clean, review backward hangers, and audit shoes.
If something feels hard to maintain, change the placement—not your willpower. The most-used items should always be the easiest to put away.
Smart Upgrades (Optional, but Helpful)
- Garment care corner: Steamer on a hook, fabric shaver, lint roller. Caring for clothes extends their life and keeps the closet fresh.
- Color map: Keep a note on your phone of your core palette. Buy within it; mixing becomes frictionless.
- Travel kit: A small pouch with spare buttons, mini sewing kit, double-sided tape. Store in the dailies tray.
Quick Reference: What to Keep vs. Let Go
- Keep if it fits now, you’ve worn it in the past season, it pairs with at least two items, and you like how you feel in it.
- Tailor if the fix is under 20% of replacement cost and you’ll wear it 10+ times.
- Donate/Sell if it’s in good condition but not your style, color, or size anymore.
- Recycle textiles that are stained, torn, or threadbare through local programs.
Final Thoughts
Organizing a closet that actually works isn’t about perfection; it’s about designing for your real patterns. When every garment has an obvious home and the path from laundry to hanger is frictonless, the system maintains itself. Start with the two-hour sprint, set up your zones, and let your labels and hangers do the heavy lifting.
Want to take it a step further? Photograph your items and track outfits to see what you wear most. A digital wardrobe and AI outfit generator on iOS, like Outfit Maker, can help you catalog pieces, test combinations virtually, and plan looks so your physical closet stays simpler.
