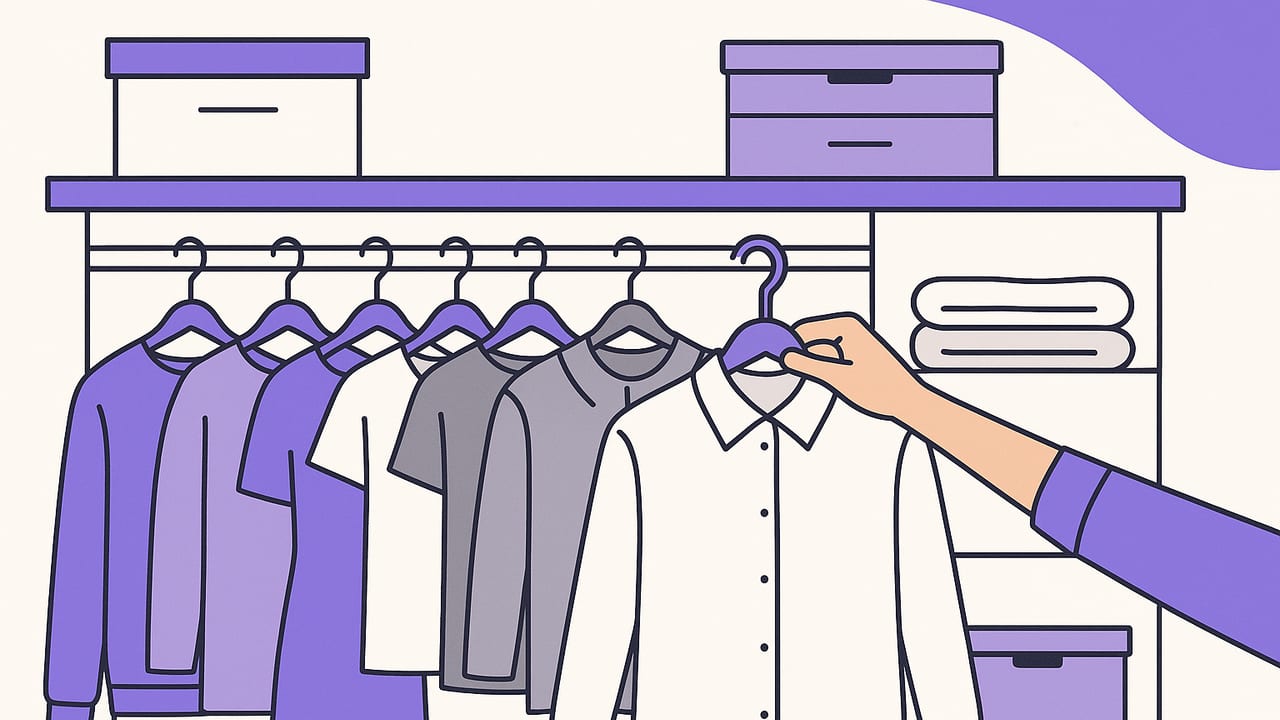
If you’ve tried color-coding hangers, buying more bins, and binge-watching organizing videos yet your space keeps slipping back into chaos, you’re not alone. This guide shows you how to actually organize clothes closet with a simple, repeatable framework that works for any size—tiny reach-in, apartment wardrobe, or walk-in. You’ll learn what to keep, where to put it, which tools matter (and which don’t), and the maintenance habits that keep your system intact for good.
How to Actually Organize Clothes Closet: The 3‑Part Framework
- Decide: Edit your wardrobe down to what fits, flatters, and is used. No tool beats a good decision.
- Design: Map zones and choose containers that match your clothes, not the other way around.
- Maintain: Small, automatic habits anchor the system so it never unravels.
Use the 80/20 rule: most people wear 20% of their clothes 80% of the time. Organize for the 20% first, then support the rest.
“You don’t need more space; you need less stuff and a system.”
A Step‑by‑Step Closet Checklist (That You’ll Actually Finish)
1) Prep and Measure
- Measure: width, height, and depth; shelf spacing; rod height. Note doors that swing in.
- Gather: 4 boxes (Keep, Tailor, Donate/Sell, Recycle), tape measure, sticky notes, a laundry basket, microfiber cloths.
- Timebox: Work in 60–90 minute sessions. If you can’t empty everything, do one category (e.g., jeans) per session.
2) Empty and Sort by Category
Pull items out by category—tops, pants, dresses, outerwear, shoes—so you can compare duplicates and decide faster.
- Keep: Fits, loved, worn in the last season appropriate to climate.
- Tailor: Realistic fixes only (set a date; 2 weeks is a good rule).
- Donate/Sell: Good condition but not your style or size.
- Recycle: Worn out, stained beyond recovery.
3) Edit with Three Simple Rules
- Fit Rule: If it doesn’t fit today and isn’t maternity or a near‑certain size change, it doesn’t stay in prime space.
- Frequency Rule: If you haven’t worn it in 12 months, it must earn a reason to stay (special occasion, heirloom).
- Duplicate Rule: Keep the best 1–2 in each redundant category (e.g., white tees). Release the rest.
4) Plan Zones Like a Store
Design your closet the way a good boutique flows, putting high-rotation items where your hand naturally reaches.
- Prime Zone (eye to hip level): Daily tops, pants, go‑to dresses, favorite shoes.
- Secondary Zone (higher/lower shelves): Seasonal overflow, occasion wear, gear.
- Deep Storage: Off‑season bins, suitcases with seasonal swap‑ins, keepsakes.
5) Choose Containers That Fit the Clothes (Not Vice Versa)
| Tool | Best For | Pro Tip |
|---|---|---|
| Velvet slim hangers | Blouses, dresses, slippery fabrics | Uniform hangers boost visibility and save inches across the rod. |
| Sturdy wooden hangers | Coats, blazers, heavy knits | Preserves shoulder shape; use for structured garments only. |
| Shelf dividers | Stacked sweaters, denim | Keep stacks from slumping; label by weight or color. |
| Drawer dividers | Underwear, socks, tees | Create “lanes” so every piece has a slot; prevents jumbling. |
| Over‑door hooks/racks | Bags, belts, scarves | Great for renters; use felt hooks for delicate straps. |
| Clear bins with lids | Off‑season items | Label front and side; silica packets prevent mustiness. |
| Shoe drawers (clear) | Heels, sneakers, flats | Stack vertically; one style per box for easy swapping. |
| Trouser hangers (clip or bar) | Pants, skirts | Hang by category and inseam length; avoid creases with felt clips. |
6) Put Back with Simple, Visual Rules
- One Category per Rod: Example: left rod = tops, right rod = bottoms.
- Shortest to Longest: Hang within each category from short to long; frees room under short items.
- Light to Dark (or Neutrals–Colors–Darks): Your eye finds items faster, and it looks tidy even when lived in.
- File Fold in Drawers: Stand tees and knits upright so you see every item at a glance.
- Limit Stack Height: 6–8 inches max to prevent toppling.
7) Label and Document
Labels end debates about “where things go” and make resets quick.
- Label examples: “Work Tops,” “Casual Denim,” “Gym Layers,” “Heels 2–3 in.”
- Inventory: Keep a simple note or spreadsheet with key counts (e.g., 6 work shirts, 3 jeans, 2 blazers). Update at season change.
- Tailor Queue: Set a calendar reminder; if not altered by the date, release the item.
8) Maintenance Micro‑Habits
- One‑in/One‑out: When a new item arrives, choose one to donate.
- Sunday 10‑Minute Reset: Re‑hang strays, re‑fold stacks, empty the “chair.”
- Laundry Rule: Hang or file‑fold the same day, even if you don’t put everything away. Momentum matters.
Space‑Specific Strategies
If You Have a Tiny Reach‑In
- Install a double rod to instantly double hanging space for tops and short items.
- Use slim hangers and vertical shoe drawers to reclaim floor space.
- Mount command hooks for bags and belts on inside walls or doors.
If You Have a Walk‑In
- Create a “landing zone” for next‑day outfits and dry‑clean hangs.
- Reserve a display shelf for one statement bag or hat; keep the rest behind doors or in drawers to reduce visual noise.
- Add lighting (LED strips under shelves) so dark items don’t disappear.
If You’re a Renter
- Use tension rods for temporary double‑hang sections.
- Lean a ladder rack for scarves and throws.
- Choose modular cubes or drawer units that can move with you.
Seasonal Rotation Without the Headache
Keep only the current season plus core essentials in prime space. Store the rest in labeled, sealed bins. When you rotate:
- Refresh: Launder or dry clean before storing.
- Protect: Use breathable garment bags for suiting; add cedar or lavender sachets.
- Audit: On the way back in, apply the 3 rules again. If it didn’t get worn last season, release it.
Pro tip: Build a micro capsule for shoulder seasons (e.g., 2 light layers, 1 neutral knit, 1 weatherproof shoe) and keep it reachable year‑round.
30‑Minute Wins When You’re Busy
- Timer + Tops: Spend 30 minutes touching every top. Remove stretched, stained, and redundant items.
- Hanger Flip: Turn all hangers backward. Flip forward after wearing. In 60–90 days, you’ll see what truly earns space.
- Drawer Sprint: File‑fold one drawer and add dividers. Small wins compound.
- Shoe Edit: Line up pairs heel‑out by type. Remove anything uncomfortable or damaged beyond repair.
Common Mistakes (And What To Do Instead)
- Buying bins first: Edit and measure before you purchase containers.
- Mixing categories on one rod: Separate tops, bottoms, dresses for faster getting dressed.
- Overstuffing drawers: If items snag or wrinkle, you have too many or the wrong folding method.
- Ignoring vertical space: Add a second rod, hooks, or high shelves for infrequent items.
- Keeping aspirational sizes in prime space: Store elsewhere or release. Prime space is for clothes that serve you now.
A Simple Closet Map You Can Copy
Top Shelf:  Off-season bins [label front + side]
Rod A (Left): Work tops (light → dark, short → long)
Rod B (Right): Bottoms & skirts (light → dark)
Lower Shelf: Denim stacks (shelf dividers)
Floor: Clear shoe drawers (sneakers → heels)
Door: Over-door hooks (bags, belts, scarves)
Drawer Unit: Underwear | Socks | Tees (file-fold + dividers)
Folding vs. Hanging: Quick Guide
- Hang: Blazers, dresses, blouses, trousers, anything that wrinkles easily.
- Fold: Sweaters (prevent stretch), tees, activewear, denim.
- Roll (in drawers or travel): Workout gear and knits to save space and reduce creases.
Mini FAQ
How many hangers should I own?
Own only as many hangers as your rod can comfortably fit without cramming—usually 60–80% of capacity. A hanger “budget” prevents overbuying clothes.
Are wire hangers really that bad?
They’re fine short‑term from the dry cleaner, but long‑term they can distort shoulders and snag fabrics. Upgrade to slim velvet for most items and wood for heavy pieces.
What if I share a closet?
Assign sides and use different colored labels or hangers. Agree on a Sunday reset time so the system stays consistent for both of you.
Putting It All Together
To recap, the secret to how to actually organize clothes closet is less about fancy products and more about decisions, zones, and habits. Edit ruthlessly, design around how you get dressed, and automate maintenance with tiny routines. Start with one category today; your future self will thank you each morning you get ready without the clutter fight.
Optional digital assist: After you’ve organized, some people like to keep a quick wardrobe catalog to plan outfits and reduce decision fatigue. On iPhone, apps like Outfit Maker let you digitize items and experiment with combinations so your physical closet stays tidy while you plan looks virtually.
Next step: Set a 60‑minute calendar block, grab your boxes, and begin with tops. The best closet system is the one you can start—and keep—today.
