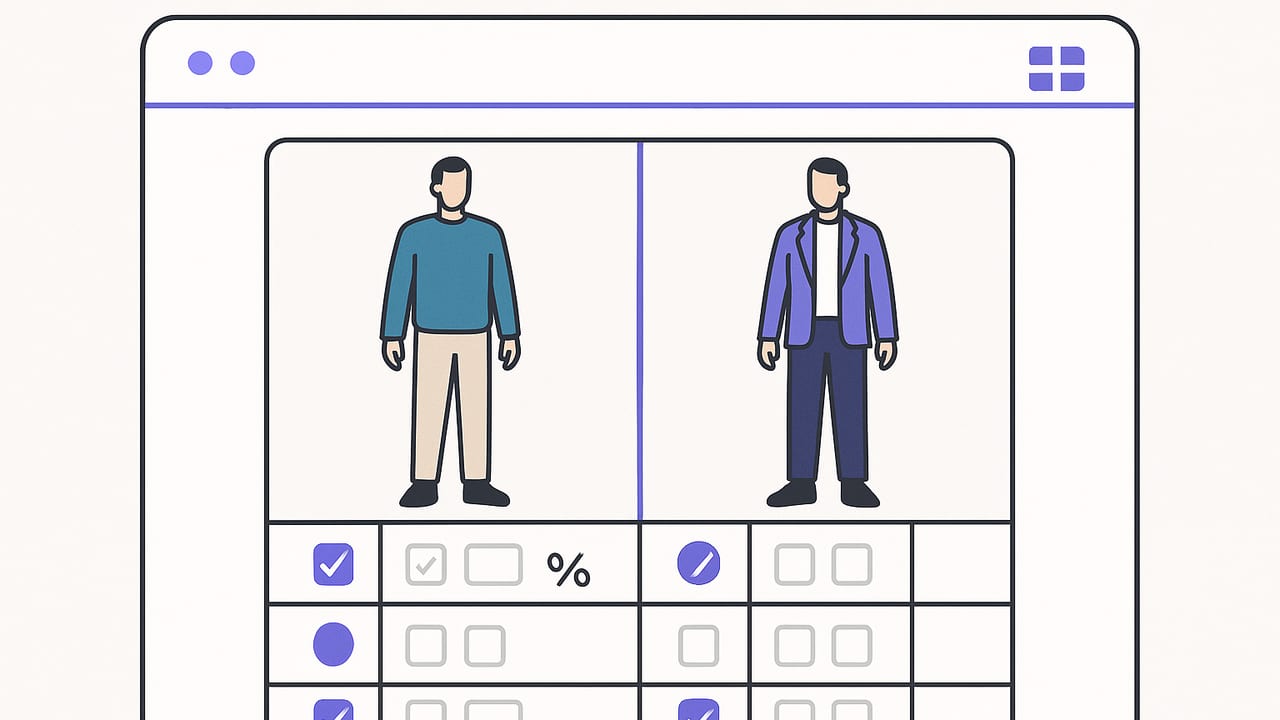
When you compare clothing combinations side by side, you turn style from guesswork into a clear, evidence-based decision. Side-by-side viewing lets you spot subtle differences in fit, proportion, color harmony, and overall vibe that are easy to miss when you try outfits one after another. This guide shows you how to build simple comparison workflows—from quick photo grids to scoring tables—so you can choose smarter, faster, and with less stress.
Why Side-by-Side Works (and What It Really Means)
Side-by-side comparison is the fashion-friendly version of A/B testing: you control the variables (lighting, pose, angle) so the only change is the outfit. That clarity reduces decision fatigue and improves the quality of your choices.
- Immediate contrast: Seeing two or more looks at once makes strengths and weaknesses pop.
- Less bias: Consistent photos reduce the influence of mood or memory.
- Faster decisions: A two-minute grid beats a 20-minute try-on marathon.
Style clarity comes from context: what looks good alone must still win in comparison.
Set Up Your Photos for Fair Comparisons
Great comparisons start with consistent inputs. Use these quick standards every time you shoot outfits:
- Lighting: Bright, indirect daylight (near a window) or a single soft light. Avoid mixed lighting.
- Background: Plain wall or tidy space; remove visual clutter.
- Camera position: Chest to knee in frame for tops/bottoms; full body for shoes/outerwear. Keep the lens at mid-torso height.
- Distance: Mark a spot on the floor for your tripod or phone stand.
- Pose: Neutral stance, shoulders relaxed, feet hip-width; add a second photo with natural movement to check drape.
- Timing: Shoot all comparison photos within 5–10 minutes so lighting and hair/makeup remain consistent.
Three Easy Ways to Build a Side-by-Side Grid
1) Phone Gallery Method
- Snap 2–6 photos, one per outfit variation.
- Use your phone’s native “Select > Collage” feature (if available) or a collage app; choose a simple even grid.
- Export as one image for quick review or sharing.
Best for: Speed and convenience when you need a same-day decision.
2) Slide Deck or Design Board
- Open a blank slide (16:9) in Keynote, PowerPoint, or Canva.
- Drag photos onto a clean grid (2x2 or 3x2).
- Add small labels for each variation (e.g., “Dark denim,” “Cropped jacket”).
Best for: Polished, sharable boards for events, presentations, or team styling.
3) Spreadsheet Grid (Surprisingly Effective)
- Create a sheet with columns for each variable (top, bottom, shoes) and a column for the image.
- Insert images in cells and use filter views to group similar looks.
- Add scoring columns (see rubric below).
Best for: Systematic planners who want tracking and scoring over time.
Score What You See: A Simple Outfit Rubric
Use this 1–5 scale to score each outfit. The point isn’t perfection; it’s clarity. You can tally a total or pick a winner by category (e.g., best color, best comfort).
| Criterion | 1 | 3 | 5 |
|---|---|---|---|
| Fit & Tailoring | Pulls, bunching | OK, needs tweaks | Clean lines, intentional |
| Proportion & Silhouette | Unbalanced | Acceptable | Harmonious, flattering |
| Color Harmony | Clashes | Neutral | Complimentary, cohesive |
| Occasion Fit | Off-code | Passable | Perfectly appropriate |
| Comfort & Mobility | Restrictive | Fine for short wear | All-day comfortable |
| Weather/Season | Wrong weight | Manageable | Ideal layers/fabrics |
| Maintenance Risk | Wrinkles/stains likely | Average | Low risk, travel-safe |
| Confidence Factor | Self-conscious | Neutral | Feel unstoppable |
Outfit Matrices: Multiply Options Without the Mess
Instead of guessing, design a small “matrix” that systematically explores combinations. Pick 3 tops, 3 bottoms, and 2 shoes for a 3x3x2 set of 18 potential outfits—then narrow to the best 6 with side-by-side boards.
- Keep one variable constant: Compare two jackets over the same base outfit.
- Test color strategy: Neutral base vs. accent base with identical accessories.
- Shoes first pass: Quickly see how footwear changes proportion and vibe.
Example mini-matrix for a business-casual day:
| Bottom: Navy Trouser | Bottom: Charcoal Jeans | Bottom: Camel Skirt | |
|---|---|---|---|
| Top: White Oxford | Loafer / Sneaker | Loafer / Boot | Heel / Loafer |
| Top: Black Knit | Boot / Loafer | Sneaker / Boot | Heel / Boot |
| Top: Striped Tee | Sneaker / Loafer | Sneaker / Boot | Loafer / Heel |
Photograph the strongest six outcomes and compare clothing combinations side by side to pick a final outfit.
Color and Pattern Checks You Can Do in Seconds
- 60–30–10 rule: Aim for 60% base color, 30% secondary, 10% accent. If your grid looks loud, reduce the accent.
- Contrast test: Ensure skin, hair, and the main garment have comfortable contrast for your undertone.
- Pattern scale mix: Combine large-scale with small-scale patterns; avoid two mid-scale prints together.
- Metal harmony: Match hardware (belt buckles, jewelry) across looks to isolate the clothing variable.
A/B Testing: Decide Fast With a Mini-Tournament
Treat your looks like a bracket. The winner stays on until dethroned:
- Pick two similar outfits; display them side by side.
- Score quickly (fit, color, confidence). Winner advances.
- Introduce the next challenger; repeat until one champion remains.
Pro tips:
- Timer: Give yourself 90 seconds per round to avoid overthinking.
- Mirror versus camera: Always finalize with a photo; mirrors can distort proportion.
- Remote feedback: If you ask friends, give them your scoring rubric to reduce random opinions.
Travel and Capsule Use Cases
Side-by-side comparison is especially powerful for packing and building capsules:
- Pack light: Compare three bottoms with two tops and two shoes; keep items that appear in the most winning looks.
- Event clusters: Build one dressy anchor and two casual anchors, then test layering options side by side to verify versatility.
- Weather-proofing: Add or remove a layer in each grid to ensure your outfits survive temperature swings.
Privacy, Bias, and Sharing With Friends
Social feedback can help, but steer it well:
- Define the goal: “Which outfit reads more polished for a client meeting?” beats “Which is better?”
- Avoid groupthink: Ask 2–3 trusted people who know your style or the occasion.
- Protect privacy: Use face-crop or blur tools when sharing publicly; remove location data from images.
Digital Shortcuts That Save Time
You can compare clothing combinations side by side without changing clothes repeatedly by standardizing your process:
- Virtual try-ons: Use apps that place your garments on consistent photos of you, so lighting and pose remain fixed.
- Tagging system: Tag photos by occasion, color palette, season, and formality to filter quickly.
- Batch shooting: Photograph key items once per season on a neutral background to reuse across boards.
If you want an all-in-one mobile workflow, an iOS app like Outfit Maker can catalog pieces, generate realistic outfit try-ons, and display looks in grids so you can compare clothing combinations side by side without constant changes.
Filename and Tag Templates That Keep You Organized
Consistent names and tags make searching and comparing effortless. Use this simple pattern:
outfits/
  2025-05-12_client-meeting/
    A_top-white-oxford_bottom-navy-trouser_shoes-brown-loafer.jpg
    B_top-black-knit_bottom-charcoal-jean_shoes-black-boot.jpg
    C_top-striped-tee_bottom-camel-skirt_shoes-nude-heel.jpg

# Tags (suggested)
# occasion: client-meeting, date-night, travel, wedding-guest
# palette: cool, warm, neutral, high-contrast, low-contrast
# vibe: classic, creative, sporty, minimal, edgy
# season: spring, summer, fall, winter
Tip: Put the variable you’re testing first in the filename (e.g., “jacket-blazer-vs-bomber”) so grid builders sort in the right order.
Common Mistakes That Skew Comparisons
- Changing too many variables: If you swap shoes, bag, and jacket at once, you can’t tell which change helped.
- Inconsistent lighting: One shadowy photo makes a good outfit look flat compared to a brighter one.
- Ignoring footwear and bag: They’re proportion drivers—test them deliberately.
- Standing too close to the camera: Wide-angle distortion changes silhouette; step back or use a longer focal length.
- Over-accessorizing early: Decide on the base outfit first, then layer accessories for the final pass.
Quick Checklist for Any Side-by-Side Session
- Pick a goal: occasion, vibe, or problem to solve.
- Lock your setup: light, background, camera height, distance.
- Define variables: what stays constant, what changes.
- Shoot 3–6 options within 10 minutes.
- Build a 2x2 or 3x2 grid; label each look.
- Score with the rubric; keep a winner’s log.
- Do a final comfort check: sit, walk, reach.
Putting It All Together
To compare clothing combinations side by side effectively, think like a stylist and a scientist: control variables, visualize options in a single frame, and use simple rubrics to guide your eye. Start with a clean setup, shoot a small matrix, build a quick grid, and let the best look win. Over time, your winners will reveal patterns—shapes you favor, colors that photograph beautifully, and footwear that anchors your proportions—so future choices become effortless.
Whether you prefer low-tech collages or a digital closet that does the heavy lifting, the habit of side-by-side evaluation will sharpen your style, save time, and make getting dressed feel less like a gamble and more like a confident, repeatable win.
