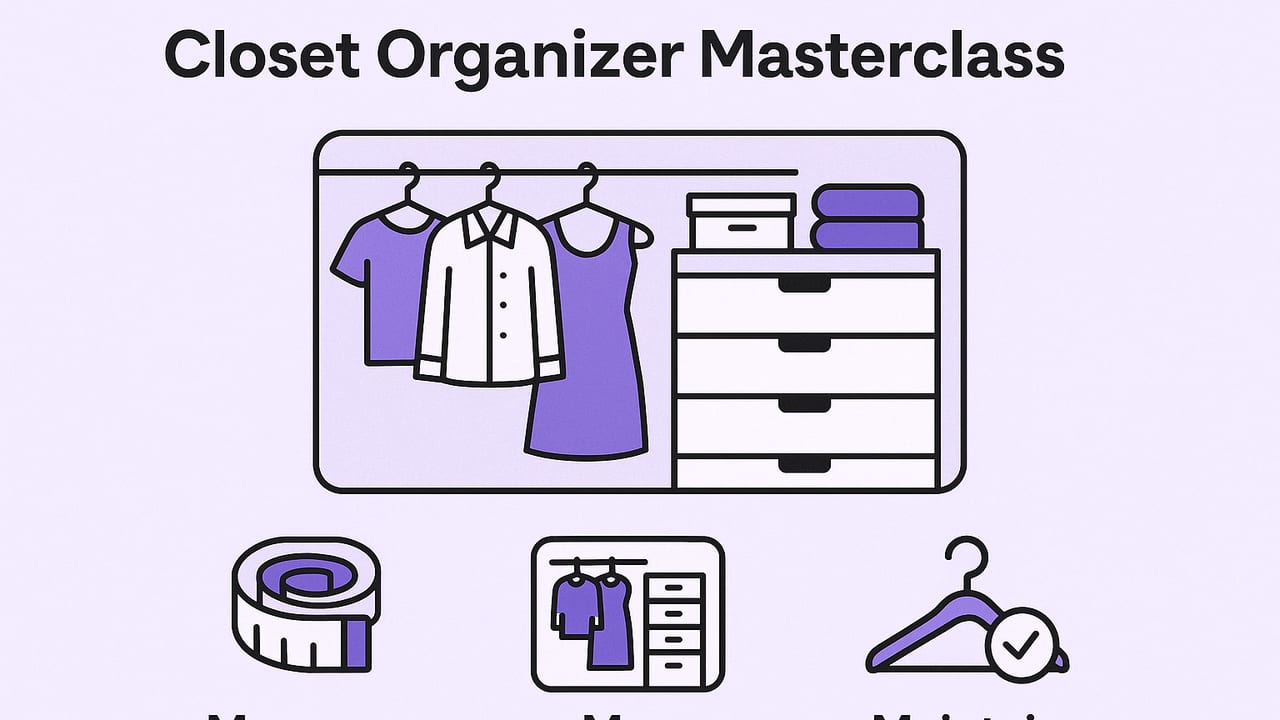
A great closet organizer isn’t just a set of shelves or matching bins. It’s a system that eliminates friction: you can find what you own fast, outfit yourself without second-guessing, and keep the whole thing tidy with minimal effort. This guide walks you through a practical, step-by-step method to plan, set up, and maintain a closet organizer that fits your space, your style, and your routines.
Step 1: Measure First, Buy Later
Most closet organizer mistakes happen at the tape-measure stage. Before you purchase a single rod, bin, or shelf, capture three simple measurements.
- Width: Wall-to-wall interior width.
- Depth: From back wall to door or threshold (include door swing).
- Height: Floor to ceiling (note soffits or sloped ceilings).
Standard sizing helps you plan smarter:
| Element | Typical Dimension | Notes |
|---|---|---|
| Hanger width (adult) | 17 inches | Use 15 inch for tight reach-ins. |
| Rod clearance | 24 inches depth | Prevents sleeves from crumpling. |
| Single hang drop | 60–66 inches | Coats, dresses. |
| Double hang drops | 40 inches + 40 inches | Shirts and pants folded on hangers. |
| Usable shelf depth | 12–14 inches | Deeper shelves cause hidden stacks. |
Capacity estimate: assume 1.25 inches of rod per hanger for easy glide. If you have 48 inches of rod, you’ll comfortably fit about 38 hangers. Plan on slightly less if you wear structured pieces.
Step 2: Declutter With Rules, Not Vibes
Good organizers amplify the items you love. So prune first. Decision fatigue disappears when you apply simple, objective rules:
- One-in, one-out: For each new piece, retire one in the same category.
- Cost-per-wear: Price ÷ wears. If an item will never drop below your threshold (e.g., $3), let it go.
- Fit and function: If it needs a tailor and you won’t book in 7 days, release it.
- 20/20 rule: Replaceable in 20 minutes for under $20? Don’t save “just in case.”
“Keep what earns its place. Everything else creates friction you pay for daily.”
Sort into four bins: Keep (fits, you wear it), Tailor (book now), Donate/Sell, Recycle (stained, damaged). Move out the non-keep categories the same day.
Step 3: Choose the Right Closet Organizer Components
Great systems mix rods, shelves, drawers, and bins. Choose based on what you own most.
| Component | Best For | Pros | Cons | Budget Tip |
|---|---|---|---|---|
| Double hanging rods | Shirts, tops, folded-on-hanger pants | Maximizes vertical space | Not for long dresses/coats | Tension or add-on rods work in rentals |
| Open shelves | Denim, sweaters, handbags | Fast access, visual inventory | Can get messy without dividers | Use shelf separators to hold stacks |
| Drawers | Undergarments, tees, activewear | Conceals clutter, protects fabrics | Harder to see everything | Mesh drawers show contents |
| Bins/boxes | Off-season, accessories | Modular, label-friendly | Out of sight, out of mind if unlabeled | Clear bins prevent guesswork |
| Over-the-door | Shoes, scarves, belts | Uses forgotten space | Door may not close on bulky items | Choose slim pockets for clearance |
Materials: Melamine is sturdy and affordable; wire systems allow airflow; wood looks premium but costs more. Mix if needed: wire for shelves, wood for a focal tower.
Step 4: Map Zones That Match Real Life
Design your closet organizer around usage frequency. This prevents “laundry limbo” and morning chaos.
- Prime zone (eye to hip level): Everyday tops, denim, go-to shoes, and repeat accessories.
- Lower zone: Heavy items, drawers for tees and activewear, shoe racks.
- Upper zone: Off-season bins, less-used formalwear.
- Vertical edges: Hooks for belts, hats, bags you grab often.
For a standard 6-foot reach-in closet, try this layout:
- Left 24 inches: double hang for tops/pants.
- Center 24–30 inches: shelves or drawers for folded categories.
- Right 24 inches: single hang for dresses/coats.
- Top shelf full-width for labeled bins.
Walk-in? Build a “daily wall.” Everything you wore in the last 2 weeks lives there. It’s your friction-free zone.
Step 5: Hangers, Folding, and Visibility
Uniform hangers reduce visual noise and save space. Choose a style and stick to it.
- Velvet slim: Maximum density, great grip; avoid for heavy coats.
- Wood: Best for structure; wider, so plan capacity.
- Clip hangers: Skirts and tailored pants; use felt pads to avoid dents.
Folding that works:
- File-fold in drawers: Items stand upright; you can see every piece.
- Stack height limit: No more than 6–8 inches per stack to prevent toppling.
- Denim trifold: Keeps shelves uniform and easy to count.
Visibility rule: If you can’t see it, you won’t wear it. Store light knits on open shelves; archive heavy sweaters in breathable bags up top.
Step 6: Labels and a Simple Inventory That Pays Off
Labels aren’t perfectionism—they’re automation. They tell future-you where things go. Label shelves, bins, and even rod sections (e.g., “Work Tops,” “Casual Pants”).
If you like tracking, keep a lightweight inventory. This turns your closet organizer into a decision engine.
Category,Item,Color,Season,Notes
Top,Oxford Shirt,White,All,Work staple
Bottom,Slim Jeans,Dark Wash,All,Friday casual
Outerwear,Trench Coat,Khaki,Spring/Fall,Needs buttons tightened
Shoes,White Sneakers,White,All,Replace insoles Q2
Accessory,Wool Scarf,Charcoal,Winter,Dry clean at season end
Use tags like #work, #casual, #wedding to sort outfits quickly. If you never wear a tagged category, that’s a signal to prune or buy smarter.
Step 7: A Maintenance Rhythm You’ll Actually Keep
Consistency beats intensity. Adopt a small, repeatable cadence.
- Weekly (10 minutes): Return strays to labeled homes, re-file folds, empty the “chair pile.”
- Monthly (15 minutes): One micro-category audit (e.g., socks). Toss worn pairs, note replacements.
- Seasonal (45–60 minutes): Swap off-season bins, clean shelves, check repairs, update inventory.
Pro tip: Keep a “repair kit” in the closet—lint roller, seam ripper, small sewing kit, fabric shaver—so fixes happen immediately.
Special Scenarios and Smart Fixes
Tiny reach-in closets
- Add a second rod with a hanging doubler for short items.
- Use ultra-slim hangers and cascading hooks sparingly to avoid crowding.
- Go vertical: over-the-door shoe organizers, wall hooks, and shelf risers.
Shared closets
- Divide visually: left/right or use different hanger colors.
- Duplicate high-frequency zones (two daily drawers if possible).
- Set joint rules: cap category counts, e.g., each gets 10 hangers for outerwear.
Kids’ closets
- Lower a rod to 36–42 inches for independence.
- Picture labels on bins help pre-readers put items back.
- Keep “grow-into” items in a top labeled bin; review quarterly.
Humid climates
- Prefer wire shelves for airflow; avoid sealing damp clothes in bins.
- Cedar blocks deter moths; refresh annually.
- Use breathable garment bags (not plastic) for wool and silk.
Sustainable Offloading: Where Clothes Go Next
Keeping clothes circulating is good for your closet and the planet.
| Path | What to Send | Benefit |
|---|---|---|
| Donation | Clean, wearable basics and seasonal items | Supports local communities |
| Resale | Designer or in-demand brands in great condition | Recoups value, encourages mindful buying |
| Textile recycling | Stained, torn, single socks, worn tees | Keeps fibers out of landfill |
Bag items by destination immediately. The longer they sit, the more likely they drift back in.
Outfit Flow: Connect Your Closet Organizer to Your Mornings
A closet organizer should reduce decision time. Tie your setup to daily routines:
- Prep tonight: Place tomorrow’s outfit on a valet hook. Include socks and accessories.
- Build formulas: For example: blazer + knit top + dark denim + low boots. Create 3–5 go-to templates.
- Seasonal capsule: Curate 30–40 pieces in your prime zone. Store the rest up top.
If you like planning digitally, a simple photo log of your wardrobe can help you mix and match, track what you actually wear, and reduce impulse buys. Apps with virtual try-on and smart tagging let you preview looks without making a mess.
Troubleshooting Common Closet Organizer Problems
- “Everything wrinkles on the rod.” Space hangers farther apart (1.5 inches per hanger) and use clip hangers for heavy skirts.
- “Shelves get messy in a week.” Add dividers and reduce stack height; switch tees to file-fold drawers.
- “I can’t find seasonal items.” Label bins on two sides and keep a simple inventory note inside the door.
- “Shoes pile up by the door.” Dedicate a 3–5 pair daily rack in the closet; rotate weekly from overflow storage.
- “Too many maybes.” Create a 30-day probation box. If untouched after a month, offload.
Quick FAQ
How many hangers do I need?
Count your keep-only hanging items and add 10% headroom. If you’re out of space, set a category cap (e.g., 40 hangers for tops) and stick to one-in, one-out.
Should I color-code or category-sort?
Category first (e.g., work shirts, casual shirts), then color within the category. This aligns to how you choose outfits.
Are drawers or shelves better for sweaters?
Either works if you avoid over-stacking. Drawers keep dust away; shelves offer faster scanning. Use dividers for both.
What’s the ideal shoe storage?
Heels and structured shoes do well on angled shelves; sneakers and flats in clear drop-front boxes or a short rack.
Put It All Together
- Measure width, depth, height; plan capacity with realistic spacing.
- Declutter using simple rules and remove cast-offs immediately.
- Choose components that match your wardrobe mix.
- Map zones by frequency: prime, lower, upper, edges.
- Standardize hangers, folding, and labels for friction-free upkeep.
- Maintain with weekly, monthly, and seasonal micro-routines.
With this system, your closet organizer becomes more than storage—it becomes a daily time-saver and a style amplifier. If you want a digital companion to plan outfits, keep a photo inventory, and virtually try combinations before pulling anything off the hanger, apps like Outfit Maker can add that extra layer of convenience to the process.
