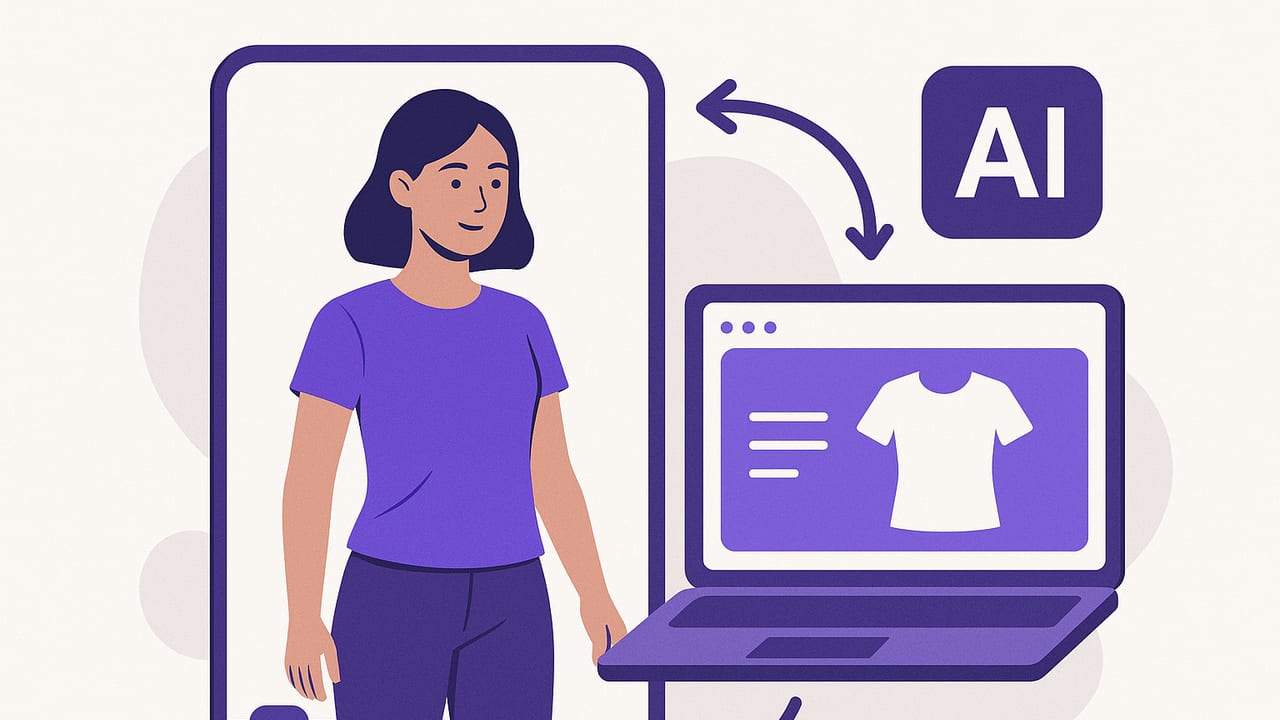
AI try on has evolved from a novelty into a practical way to preview outfits, reduce returns, and make faster wardrobe decisions. Whether you want to see how a blazer drapes over a tee or plan capsule looks for the week, the right setup and workflow can produce convincing results in minutes. This guide explains how AI try-on works, how to capture better inputs, and how to build a repeatable process that yields realistic virtual fits without turning your space into a photo studio.
What AI Try-On Actually Does
AI try-on systems simulate how clothing looks on a person using computer vision and generative models. Under the hood, most solutions combine:
- Segmentation: Separating you from the background and isolating clothing regions.
- Pose estimation: Mapping body joints and orientation to place garments in the right position.
- Garment warping: Adjusting a flat item image so it contours to your body and pose.
- Texture preservation: Maintaining patterns, seams, and fabric detail post-warp.
- Lighting/shadows: Blending colors and shadows so the garment looks like it belongs in your scene.
There are three common approaches:
- 2D image-based try-on: Works from photos of you and your clothes. Fast and accessible; ideal for closets and everyday outfit planning.
- AR overlays: Uses your camera in real time. Great for quick checks and accessories; less precise for layered outfits.
- 3D body/garment models: Builds a parametric body and garment mesh. Most accurate for drape and size mapping, but more setup-intensive.
Accuracy depends on input quality, pose, fabric type, and whether the system has garment measurements or only images. Baggy or highly structured items (e.g., stiff blazers, oversized denim) are harder to simulate than knits and tees, but good photography and angle discipline can close much of the realism gap.
When to Use AI Try On
- Daily planning: Pre-try outfits for work, school, or travel and save combinations.
- Capsule wardrobes: Validate mix-and-match options before committing to purchases.
- Resale listings: Showcase styled looks with accurate colors and clear garment detail.
- Creators and stylists: Storyboard looks, mood boards, or client options without on-body shoots.
- Fit and alteration checks: Approximate how lengths and layers will play together.
AI Try-On Setup Checklist
A consistent setup yields consistent results. You don’t need a studio—just a predictable environment.
- Device: A recent smartphone with a wide camera and good low-light performance.
- Backdrop: Plain wall or seamless paper. Neutral, matte colors reduce color cast.
- Lighting: Bright, even light. Two light sources at 45° angles or shaded window light.
- Stability: Tripod or shelf mount so framing and distance stay constant.
- Distance markers: Tape on the floor to stand in the same spot each time.
- Outfit prep: Lint-roll, steam/iron, and photograph garments flat and front-on.
- Pose presets: A few repeatable poses that keep limbs visible and avoid occlusions.
Photo Capture Best Practices
The fastest way to improve AI try on realism is to improve your photos—both of you and your clothes.
- For you: Wear fitted base layers, pull hair away from the neckline if needed, remove bulky accessories, and keep a relaxed, neutral stance.
- For garments: Shoot on a contrasting background, front-on with sleeves aligned, collars flattened, and hems visible. Include the whole item; avoid clips unless hidden.
- Framing: Keep the camera at chest-to-waist height for tops and mid-thigh for full outfits, parallel to the ground.
| Capture Element | Do | Avoid |
|---|---|---|
| Lighting | Soft, even, bright; no hard shadows | Mixed color temps; strong backlight |
| Angle | Camera parallel to subject; straight-on | Tilted horizon; low/high dramatic angles |
| Distance | Full body in frame with minimal cropping | Cutting off feet or top of head |
| Background | Plain, matte, non-reflective | Busy patterns; mirrors behind you |
| Clothing Prep | Steam/iron; flatten seams | Wrinkled, folded, or twisted items |
Treat your camera like a measurement device: consistent light, distance, and angle will improve AI try-on realism more than any filter.
How to Improve Realistic Fit
Even the best models need good references to approximate drape and proportion. Use these tactics:
- Pose consistency: Pick 2–3 poses that show shoulders, waist, and leg lines. Avoid fully crossed arms or hands over pockets.
- Size anchors: Record a few key measurements (shoulder width, chest, waist, inseam). If your tool allows, link garment measurements to body anchors.
- Layer logic: Try tops over tops, jackets over tops, and avoid mixing bulky with bulky for more believable contours.
- Shadow realism: Ensure your subject photo has a natural light direction; the AI can then cast believable garment shadows.
- Color fidelity: Shoot garments under neutral light and enable color consistency so whites and blacks don’t drift warm/cool across looks.
Structured pieces (e.g., blazers) benefit from a slightly straighter stance. Fabrics with shine or directional texture (satin, corduroy) should be photographed with the light angled to reveal detail without glare. If your app supports measurement or size mapping, enter true garment specs from labels or a tape—these inputs boost scale accuracy dramatically.
A Repeatable AI Try On Workflow
- Ingest: Photograph your base looks (you in neutral layers) and your garments flat. Name files consistently.
- Try: Combine a small set of tops, bottoms, and layers. Start with simple outfits to validate photo quality.
- Refine: Adjust pose, lighting, or garment photos if edges look jagged or colors shift.
- Decide: Pick 3–5 favorite looks and note any tailoring or accessory gaps.
- Save and tag: Organize winning outfits by occasion, weather, and dress code.
- Share selectively: If collaborating with friends or a stylist, share images without location metadata.
Use a simple naming convention to speed search and pairing:
tops_shirt_oxford_white_M_brand-slim.jpg
outer_blazer_navy_40R_brand-classic.jpg
bottoms_jeans_indigo_32x30_straight.jpg
shoes_loafers_brown_9D.jpg
base_me-user_poseA_neutrallight.jpg
Consistent names make batch try-ons faster and help you filter by color, fit, or occasion.
Privacy, Rights, and Safe Sharing
AI try on involves personal images. Protect yourself by following these basics:
- Local first: Prefer on-device processing or encrypted uploads where possible.
- Data retention: Check how long images are stored and how to delete them.
- Consent: Get permission before sharing images that include other people.
- Metadata hygiene: Strip EXIF/location when sharing publicly.
- Brand marks: Respect trademarks and avoid implying endorsements when publishing stylized looks.
Measuring Impact: Useful Metrics
Track outcomes so your AI try-on habit keeps paying off:
- Time to decide: Minutes from idea to outfit lock-in.
- Outfit repeat rate: Percentage of looks you repeat and love.
- Return reduction: If shopping, changes in return frequency for apparel.
- Wear ratio: Items worn per month; flag closet underperformers.
- Confidence score: A simple 1–5 rating after wearing the look to calibrate future picks.
Troubleshooting Common Issues
- Jagged edges or halos: Improve garment background contrast and edge sharpening; avoid motion blur.
- Color shifts: Shoot under consistent, neutral lighting; disable aggressive HDR that alters fabric color.
- Body distortion: Step back to reduce lens distortion; keep camera parallel to the ground.
- Logo mirroring: Ensure garment photos aren’t mirrored; check camera app’s mirroring settings.
- Sleeves or hems clipping: Re-shoot garment fully visible; avoid cropping cuffs or collars.
- Floating garments: Add a slight shadow under hems by improving base photo lighting direction.
- Layer conflict: Try thinner base layers or adjust pose so the neckline and shoulder lines are clear.
Quick FAQ
How accurate is AI try on for fit?
Good inputs can approximate silhouette and proportion well, especially for knits, tees, and jeans. Exact drape and micro-fit vary with fabric and construction. If available, link garment measurements for better scale.
Can AI try-on handle oversized or structured pieces?
Yes, but results improve with straighter poses and clear shoulder/hem lines. Photograph garments carefully to preserve structure, and avoid extreme angles.
What about shoes and accessories?
Shoes and bags render well with clean background photos and consistent light. Very reflective materials may need softer lighting to avoid blown highlights.
Do I need a green screen?
No. A plain, matte wall works. Focus on even light, steady framing, and consistent distance.
Will it work across different skin tones and body types?
Modern models are trained on diverse data, but input quality is still the top driver of realism. Consistent lighting and clear poses benefit everyone.
Putting It All Together
AI try on shines when you treat it like a repeatable system: predictable photos, a simple naming convention, and a short review loop. Start with a neutral base photo, add a handful of well-shot garments, and iterate. Within a week you’ll have a library of go-to looks and a reliable feel for which pieces truly mix and match.
If you’re on iPhone and want an all-in-one tool that combines AI try on with a smart closet and outfit planner, Outfit Maker offers a streamlined way to upload clothes, test combinations, and save shareable looks.
