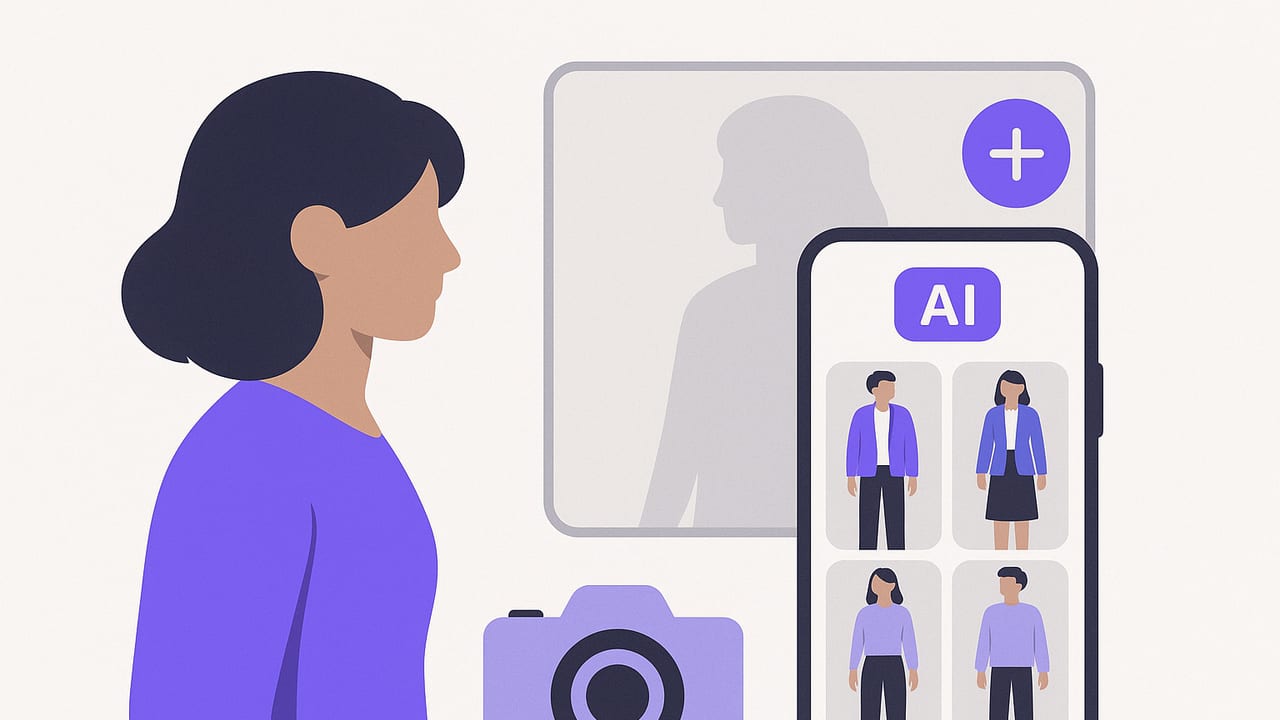
Turning everyday images into wearable inspiration is no longer a novelty. With an ai outfit generator from photos, you can virtually try on clothes, remix your wardrobe, and plan looks without changing in and out of garments. This guide shows how to capture better photos, choose the right virtual try-on method, build outfits with constraints (weather, dress code, body type), and measure your results. The goal: realistic, repeatable outcomes that actually help you decide what to wear.
What "from photos" really means
When people say an AI can generate outfits from photos, they typically refer to two input types:
- Garment photos: Flat lays, hanger shots, or on-model product images of individual items (tops, pants, jackets, shoes, accessories). These help the system understand fabric, color, silhouette, and structure.
- Person photos: Selfies or full-body shots of you. These guide fit, body shape, proportions, skin tone, and the pose into which garments should be mapped.
High-quality inputs enable more believable outputs. If you want the tool to style your closet on your body, provide both: clean item photos and at least one consistent body reference shot. If you only want combinations on a mannequin or neutral model, item photos may suffice.
Capture fundamentals for higher accuracy
You can dramatically improve realism with simple capture discipline. Consistency is the secret weapon.
For garment photos
- Background: Use a plain, non-reflective surface (white poster board, neutral sheet, wall). Avoid busy textures.
- Lighting: Soft, even light from a window or diffused lamp. No harsh shadows or color casts. Avoid mixed lighting (daylight + warm bulbs).
- Framing: Center the item with minimal cropping. Include the full silhouette and leave a bit of margin.
- Angles: Shoot straight on. For shoes and structured jackets, add a second 3/4 angle for better volume cues.
- Prep: Steam wrinkles, button shirts, zip zippers, align hems. Flat lay garments symmetrically to reveal true shape.
- Color fidelity: Turn off aggressive HDR and beauty filters; they can skew color. If possible, lock white balance.
For body reference photos
- Pose: Natural, relaxed stance with arms slightly away from the torso. Keep a consistent pose across sessions.
- Camera placement: Lens at mid-torso height, ~2–3 meters away, perpendicular to you. Avoid extreme wide-angle distortion.
- Wardrobe: Wear close-fitting, neutral layers. Tie back hair if it covers shoulder lines that the model needs to see.
- Background: Plain wall with even lighting. Mark the floor spot where you stand so distance remains consistent.
Store your best captures and re-use them. The more consistent your input set, the more accurately the AI can map drape, scale, and hem lines from session to session.
From photo to outfit: an end-to-end workflow
- Import & clean: Add garment and body photos to your library. Use background removal when needed to isolate items cleanly.
- Tag & categorize: Label items by type (top, bottom, outerwear), color, fabric, season, formality, and care. Tags power smart filtering later.
- Fit notes: Mark notes like cropped, oversized, slim, mid-rise, wide-leg, heel height. Good metadata reduces unrealistic pairings.
- Try-on method selection: Choose the right engine (see methods below) based on speed vs realism and whether you need your exact body.
- Style constraints: Set the brief: occasion, weather, dress code, color palette, silhouette preferences, and comfort rules.
- Generate & iterate: Produce 3–6 variations first, then refine. Approve or discard items, tweak colors, and re-run with improved constraints.
- Evaluate in context: Check hem alignment with shoes, sleeve break, proportions of top-to-bottom, and bag size relative to torso.
- Save & schedule: Archive winning outfits with tags (e.g., commute, boardroom, concert). Add to calendar or packing lists.
Virtual try-on methods compared
Different engines exist under the hood. Understanding trade-offs helps set expectations.
| Method | Realism | Body accuracy | Speed | Best for |
|---|---|---|---|---|
| Background removal + collage | Low–Medium | N/A | Fast | Quick outfit grids; social sharing |
| 2D warping (image-based try-on) | Medium | Medium | Fast–Medium | Tops, tees, simple dresses |
| 3D garment reconstruction | High | High | Medium–Slow | Structured pieces; accurate drape |
| Diffusion-based try-on | High (with constraints) | Medium–High | Medium | Editorial and realistic blends |
For everyday planning, 2D warping or diffusion-based try-on often hits the sweet spot between time and fidelity. If you care about precise tailoring (jacket shoulder, trouser break), a 3D-informed pipeline is ideal, but setup is heavier.
Build outfits with smart constraints
AI excels when you feed it clear rules. Add practical constraints so outputs are wearable, not just pretty.
- Silhouette rules: Balance volume (slim top + wide-leg bottom; oversized hoodie + tapered pants).
- Color strategies: Choose a base neutral (navy, black, grey, tan), one accent, and optional highlight. Limit to 2–3 dominant hues.
- Dress code filters: Business formal (structured outerwear, leather dress shoes), business casual (unstructured blazer, loafers), creative casual (statement piece + clean sneakers).
- Weather logic: Temperature ranges map to fabric weights and sleeve lengths. Rain toggles waterproof outerwear and avoids suede.
- Time & activity: Commute walking time implies comfortable footwear and crossbody or backpack instead of a top-handle bag.
Style formulas that work
- Rule of Thirds: Top at ~1/3 visual height, bottom at ~2/3 (or vice versa) to avoid cutting the body in half.
- Three-Piece Principle: Base (top + bottom) plus one completer piece (jacket, vest, statement accessory).
- Texture Triad: Combine smooth (poplin), napped (wool, suede), and shiny (satin, patent) for dimension.
- Color Echo: Repeat a color at least twice (socks + graphic on tee; bag strap + stripe on shirt) for cohesion.
Prompting and style direction (for AI-driven suggestions)
If your tool supports text guidance, be explicit about context and constraints. Use short, testable phrases, and anchor to your actual items.
Style brief:
- Occasion: client meeting, indoor office
- Weather: mild, no rain
- Vibe: polished but relaxed, minimal branding
- Palette: navy, white, tan; no black
- Silhouette: fitted top, straight-leg bottom
- Comfort: walk 2 km, sit 3 hrs

Wardrobe items available:
- Navy unstructured blazer, lightweight wool
- White oxford shirt, slim, tucked
- Straight-leg chinos, tan
- Brown leather belt, 1 inch
- White leather sneakers, minimal

Output request:
- 3 looks using only listed items
- Show blazer open vs closed
- Suggest optional accessory and sock color
Treat prompts like a creative brief. The less ambiguity, the less guesswork the model has to do. Iterate by changing one variable at a time (color, shoe type, tuck, belt vs no belt).
Common pitfalls and how to fix them
- Colors look off: Check white balance at capture. Use a neutral background. Avoid heavy photo filters. Calibrate by including a neutral gray object once, then re-use that lighting setup.
- Garments appear to float: Shadows and contact points (hem touching shoes, bag strap on shoulder) add realism. Pick try-on methods that render occlusions correctly.
- Wrong scale: If belts or bags look oversized, provide reference measurements (belt width, bag height) or add a standard object for scale during capture.
- Fabric physics seem wrong: 2D methods can struggle with thick knits or stiff denim. Switch to a 3D-aware or diffusion model with drape constraints for structured pieces.
- Outfits clash with personal style: Tag your style keywords (minimalist, street, preppy, boho) and set a palette. Exclude prints or logos if they rarely work for you.
- Overfitting to one pose: Capture 2–3 body references (front, slight 3/4, seated if needed). Keep lighting constant but vary stance.
- Analysis paralysis: Cap generations to 6 per session. Save 1–2 winners, discard the rest. Decision limits create momentum.
Privacy, security, and ethics
Outfit images often contain faces, bodies, and private spaces. Treat them like any sensitive media.
- Local vs cloud: Know whether processing happens on-device, on a secure server, or a third-party API. Prefer end-to-end encryption in transit.
- Consent: Only use photos of yourself or people who consented. Avoid uploading images that include bystanders or sensitive backgrounds.
- Data minimization: Upload only what you need (crop out home addresses, badges). Delete unneeded shots after generating your looks.
- Model bias: Check if outputs fairly reflect your body type, skin tone, and cultural garments. Provide diverse reference photos if necessary.
Measuring success: make it useful, not just pretty
To decide whether your AI outfit generator from photos is actually helping, track a few simple metrics over time:
- Time-to-decision: Minutes from brief to saved outfit. Aim to reduce this as you improve capture and constraints.
- Wear rate: Percentage of AI-generated looks you actually wear in real life.
- Repeat wins: Number of outfits you re-wear with small variations (shoe swap, layering change).
- Miss reasons: Why you skipped a generated outfit (weather changed, comfort off, color mismatch). Feed these notes back into tags and prompts.
- Closet utilization: Items used at least once per month. Surface underused pieces in future generations to increase ROI.
FAQ
Do I need professional photos?
No. Phone photos are fine if lighting is soft, backgrounds are plain, and framing is consistent. Consistency beats perfection.
Can AI predict true fit and comfort?
It approximates drape and proportion but can’t feel tight seams or hot fabrics. Use it to narrow choices, then do a quick real-life check for comfort.
How many photos per item?
Start with one clear, straight-on shot. Add a second angled shot for structured items (jackets, boots). Front and back can help for complex details.
Will it work with patterned or textured fabrics?
Yes, but patterns require cleaner lighting and sharper focus. Avoid moiré by stepping back slightly and using a higher-resolution capture.
Putting it all together
A reliable AI outfit generator from photos is less about flashy effects and more about inputs, constraints, and iteration. Capture clean images, choose the right try-on method, add realistic context (weather, commute, dress code), and refine with small changes. With those habits, you will consistently produce believable outfits that you’ll actually wear. If you’re on iOS and want a single place to organize your wardrobe, try on items virtually, and plan looks, consider exploring Outfit Maker as a practical option.
